What is CH-Ops
CH-Ops is a browser-based operations platform built for managing ClickHouse® deployments. Instead of relying entirely on the command line or HTTP APIs, it provides a unified interface for executing SQL queries, monitoring clusters, managing users, backups, alerts, dashboards, and much more, all from a single web application.
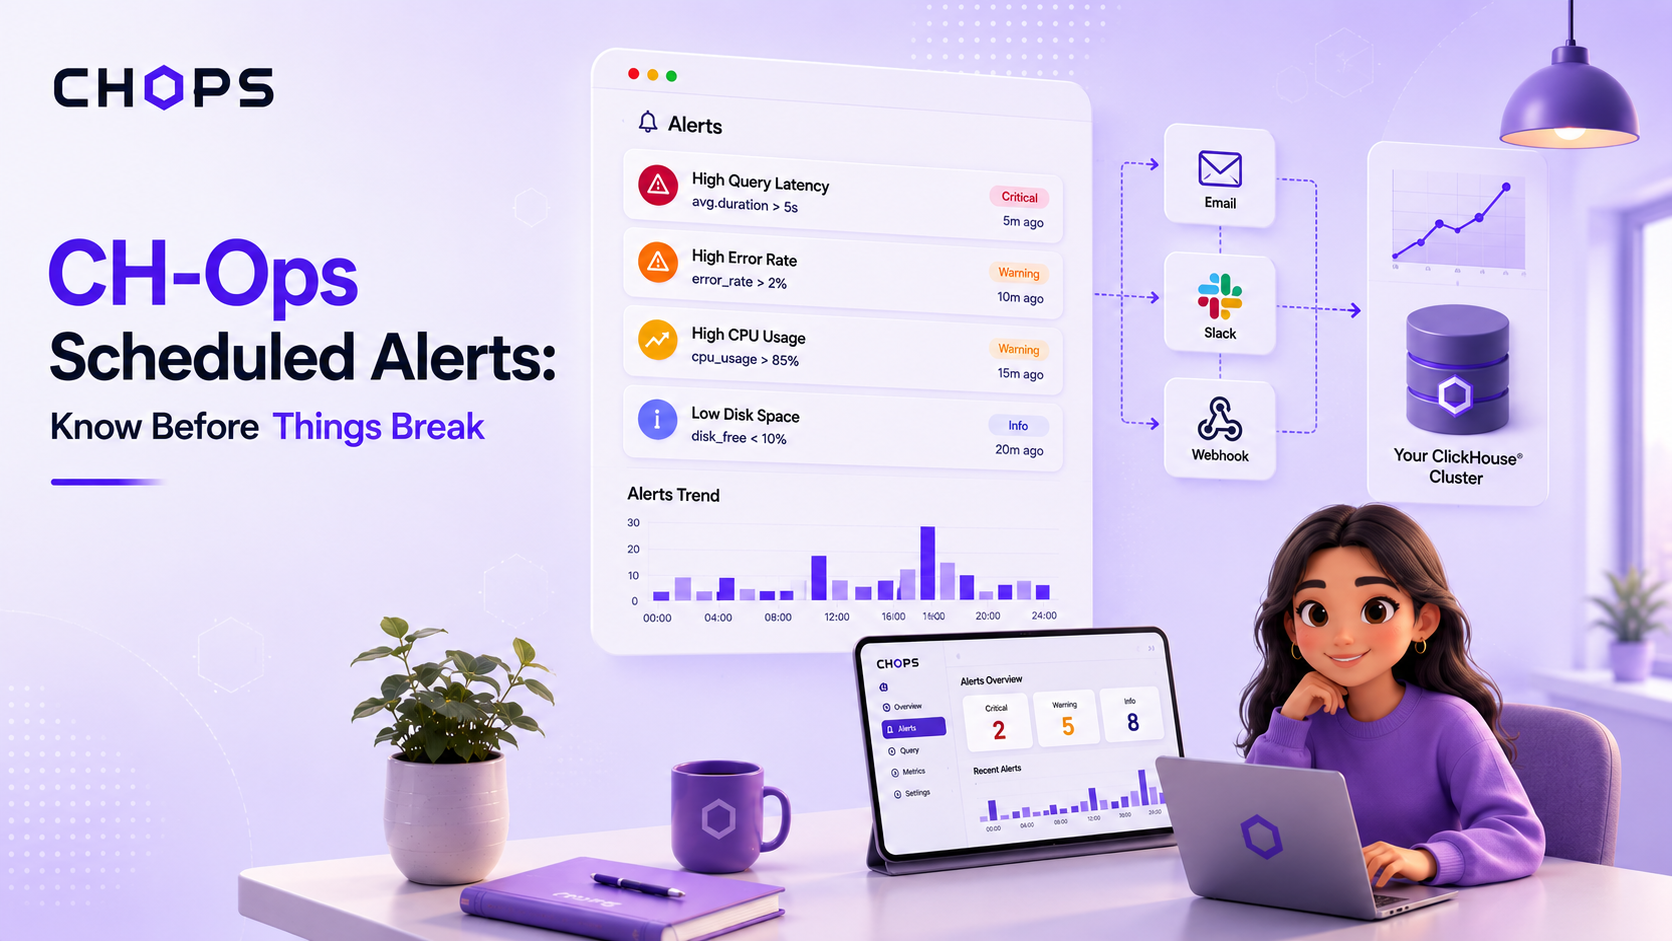
One of its useful features is Alert Rules, which lets you turn a SQL query into a scheduled check and notify you when a defined condition is met.
In this walkthrough, we'll use Email (SMTP) as the notification channel and create a simple scheduled alert from the CH-Ops interface. Let's see how you can create, test, and manage alerts without building a separate monitoring script.
Introducing CH-Ops Alert Rules
Monitoring a ClickHouse® cluster is not only about looking at dashboards. Some conditions are easier to detect with a simple query.
For example, you may want to know when:
- The number of failed operations goes above a threshold.
- A particular metric exceeds an expected value.
- A query returns an unexpected result.
- A cluster condition needs attention.
Instead of manually running the same query again and again, Alert Rules allows you to schedule the query and define what should trigger an alert. Once the rule is enabled, CH-Ops periodically executes the query and checks its result against the configured condition.
Setting up an email notification channel
Before creating an alert, you need a notification channel that CH-Ops can use to deliver the alert.
You can find this under:
Control Panel → Notification Channels
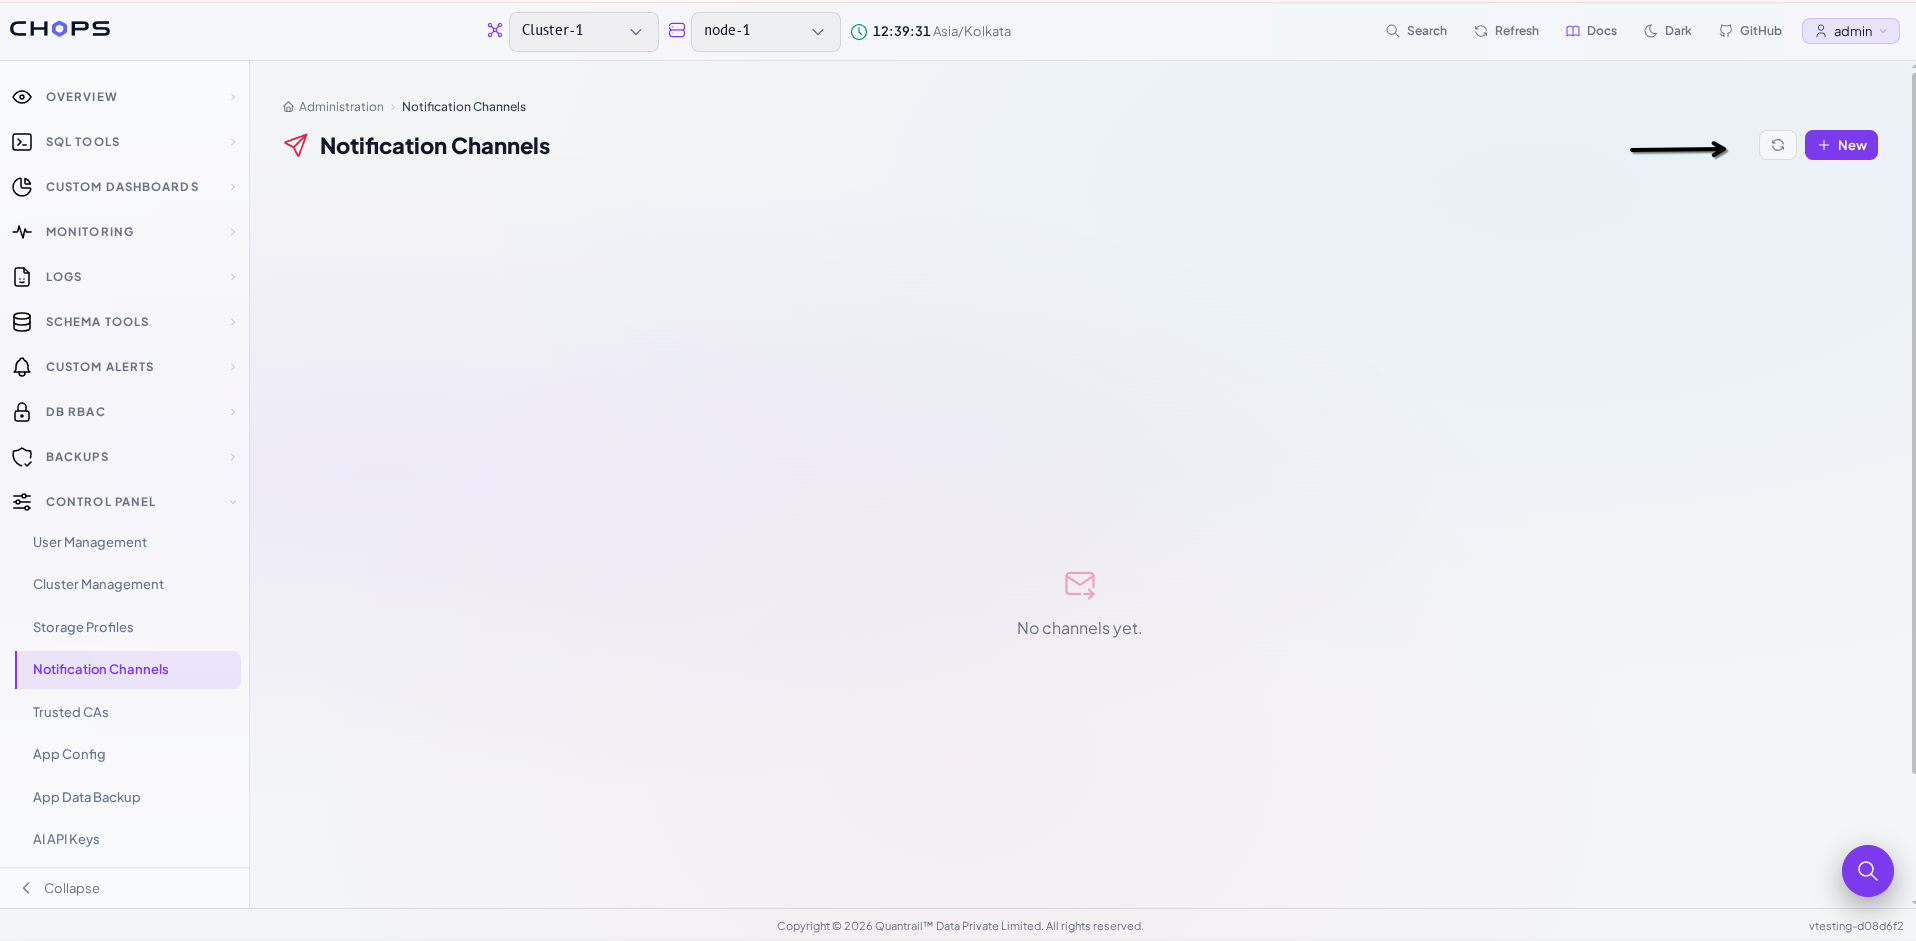 Figure: Notification Channels page before any configuration.
Click New to create a notification channel.
For this walkthrough, select Email (SMTP) as the notification type. The form provides fields for configuring the email connection:
| Field | What it's for |
|---|---|
| Name | A name to identify the notification channel |
| SMTP Host | The mail server address used to send the alert |
| SMTP Port | The port that server listens on |
| SMTP User | The account CH-Ops authenticates as |
| SMTP Password | That account's password |
| From | The sender address |
| To | The recipient address |
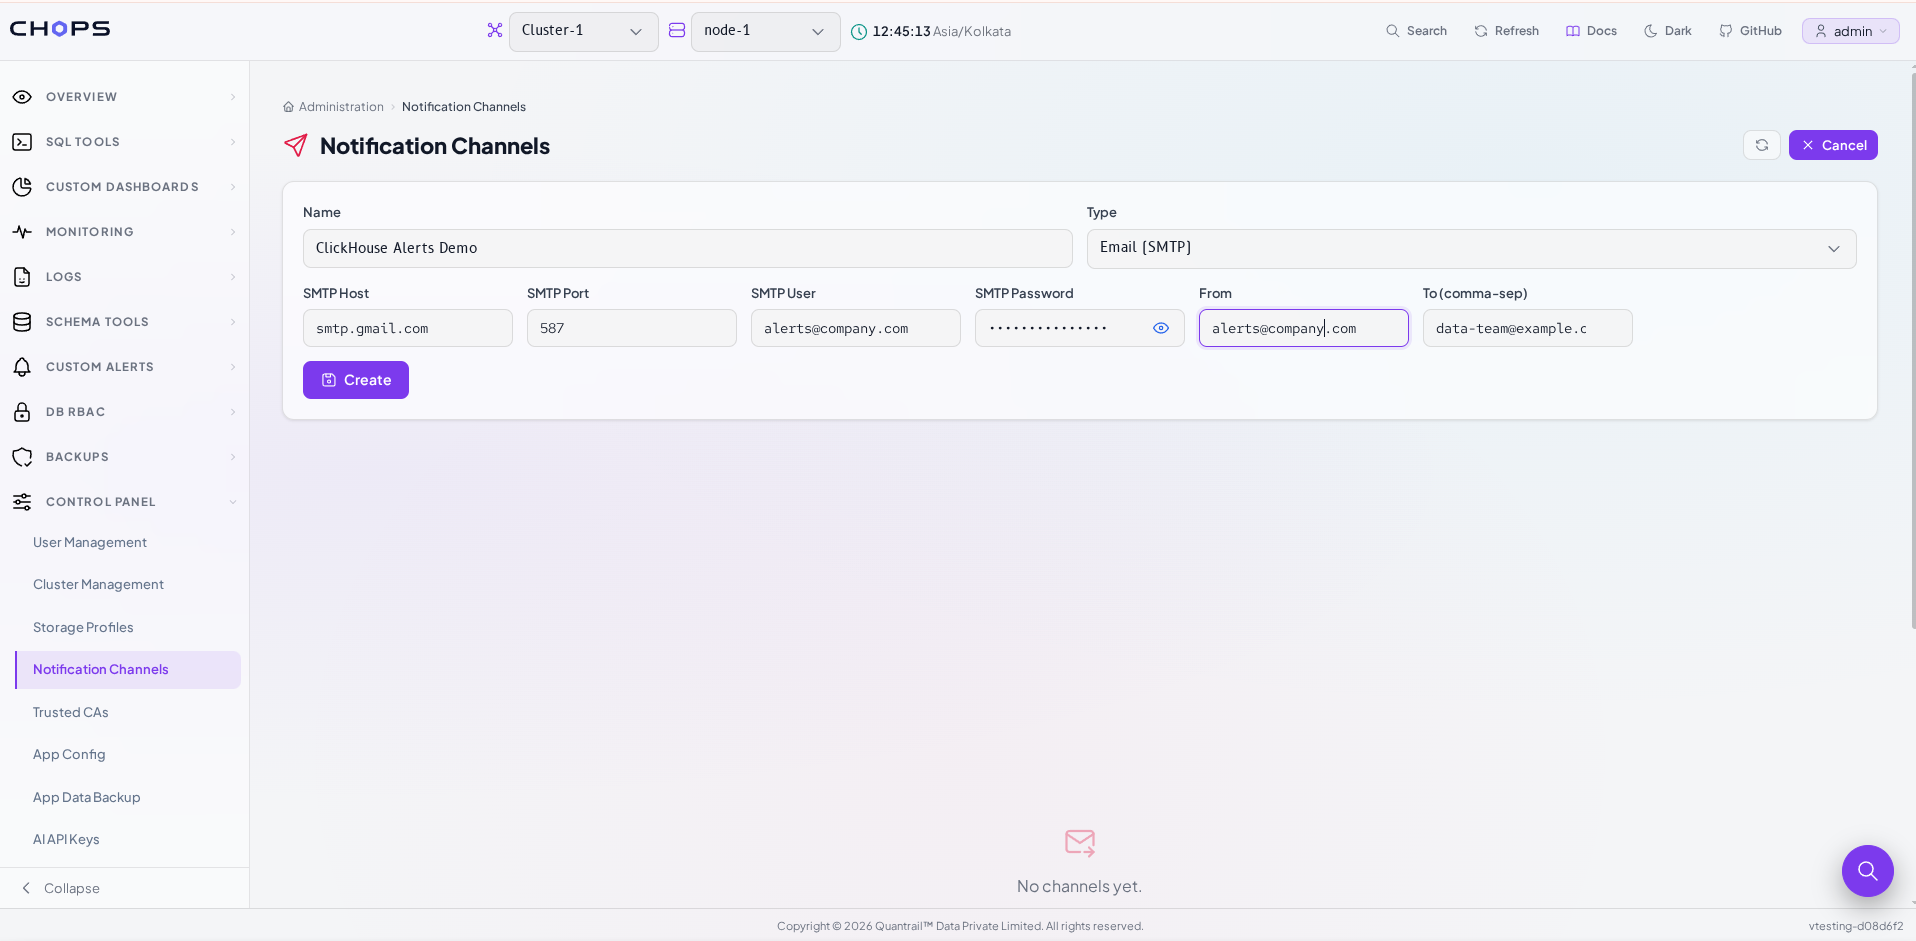 Figure: Notification channel configuration form with SMTP details.
Fill in the SMTP details provided by your email service and click Create.
Once configured, the channel can be reused by alert rules instead of configuring email details every time you create a new alert.
After creating an Email (SMTP) notification channel, use its Test button to verify that the configured SMTP details can successfully send a test notification. A successful test confirms that the notification channel is ready to be used by alert rules.
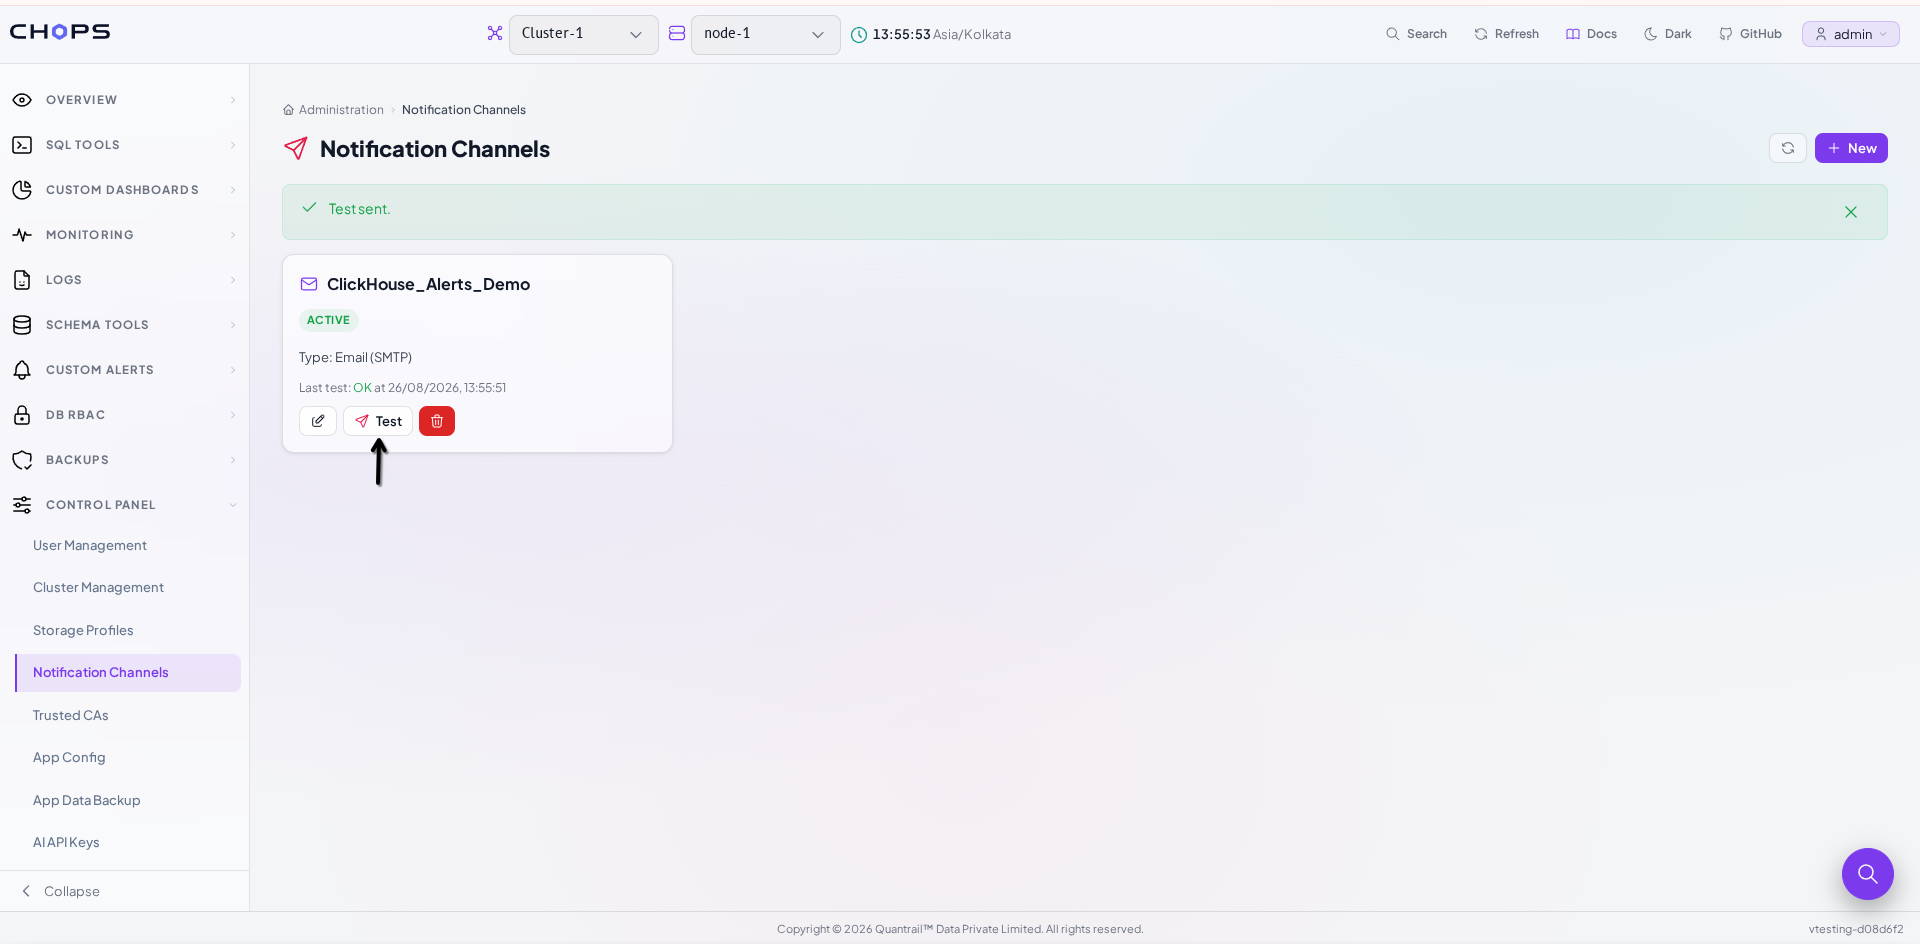 Figure: Successful test notification sent from the configured email channel.
Creating an Alert Rule
After configuring the notification channel, go to:
Custom Alerts → Alert Rules
If you haven't created any rules yet, CH-Ops displays an empty state with a New Rule button. Click New Rule to start creating an alert.
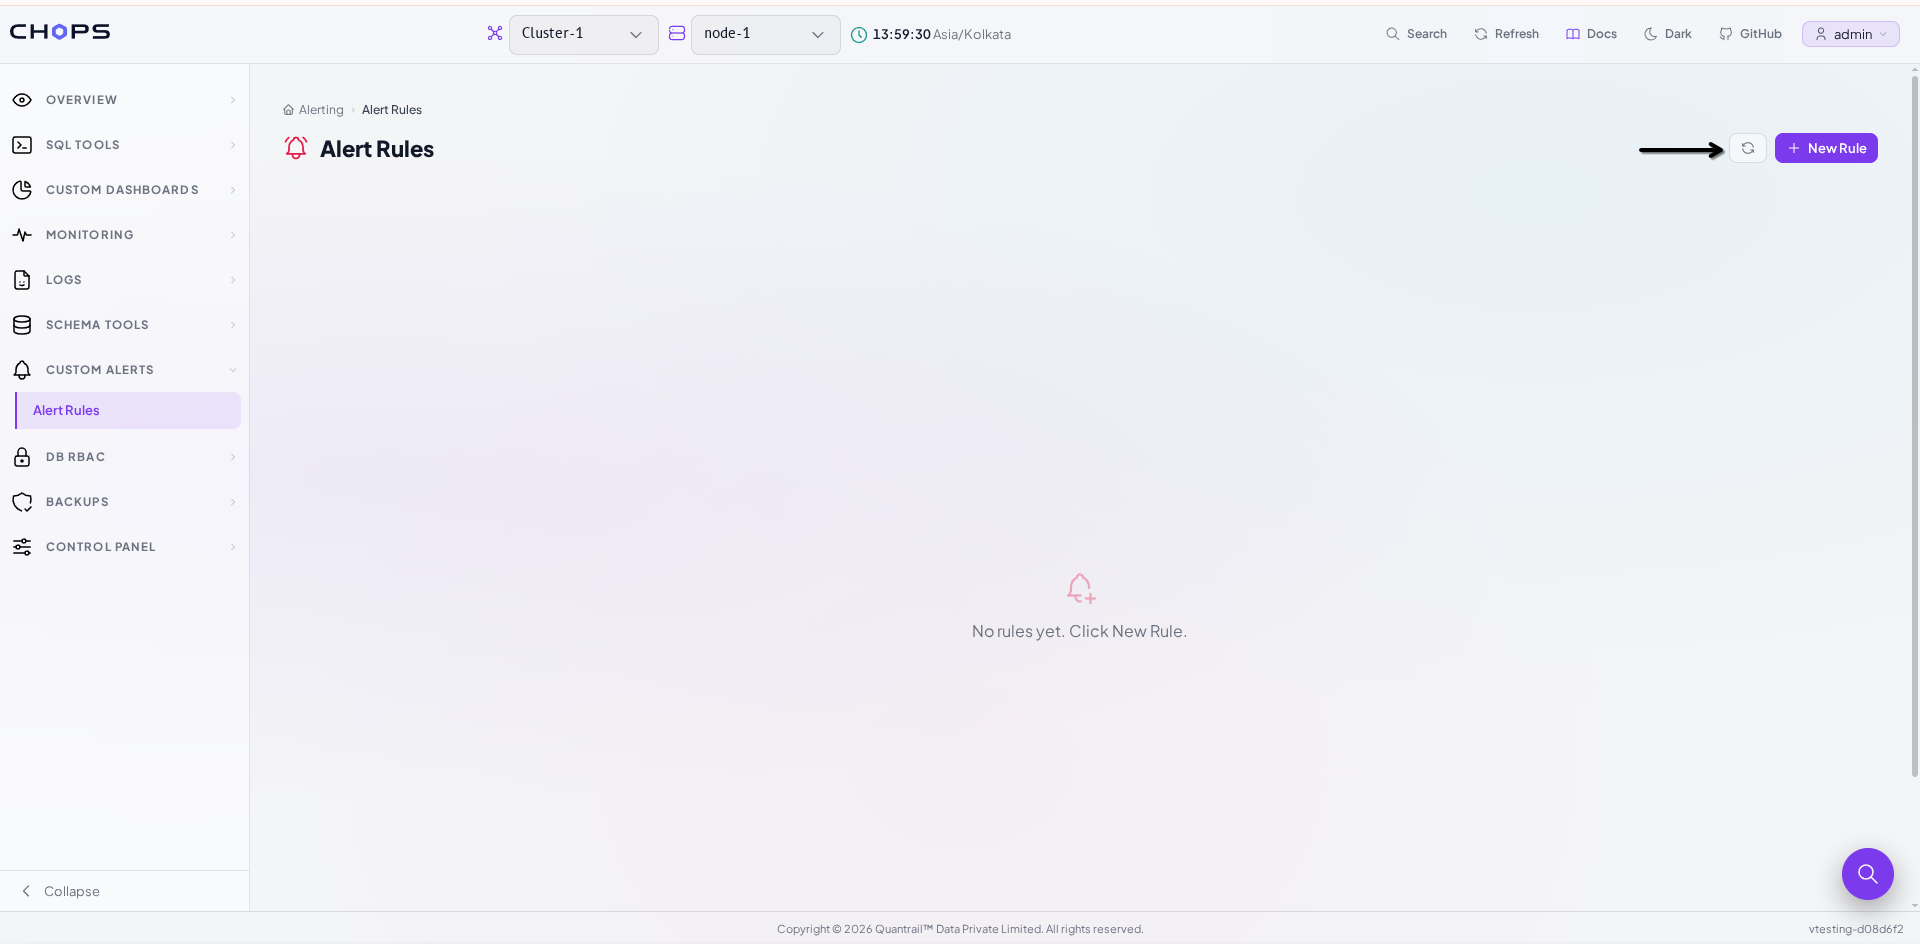 Figure: Alert Rules page with the option to create a new alert rule.
The alert rule form brings the main configuration into one place.
| Field | What it does |
|---|---|
| Name | Identifies the rule |
| Severity | How serious a firing alert is, for example warning |
| Schedule (cron) | How often the rule runs, for example */5 * * * * for every five minutes |
| Operator | How the result is compared to the threshold, for example greater than |
| Threshold | The value the operator compares against |
| SQL (single value) | A query that returns one number to check |
| Description | Context shown when the alert fires (optional), but it is useful for documenting what the alert is checking |
| Cluster | Which cluster the rule runs against, defaulting to all clusters |
| Target nodes | Which nodes to run on, left empty to mean all nodes |
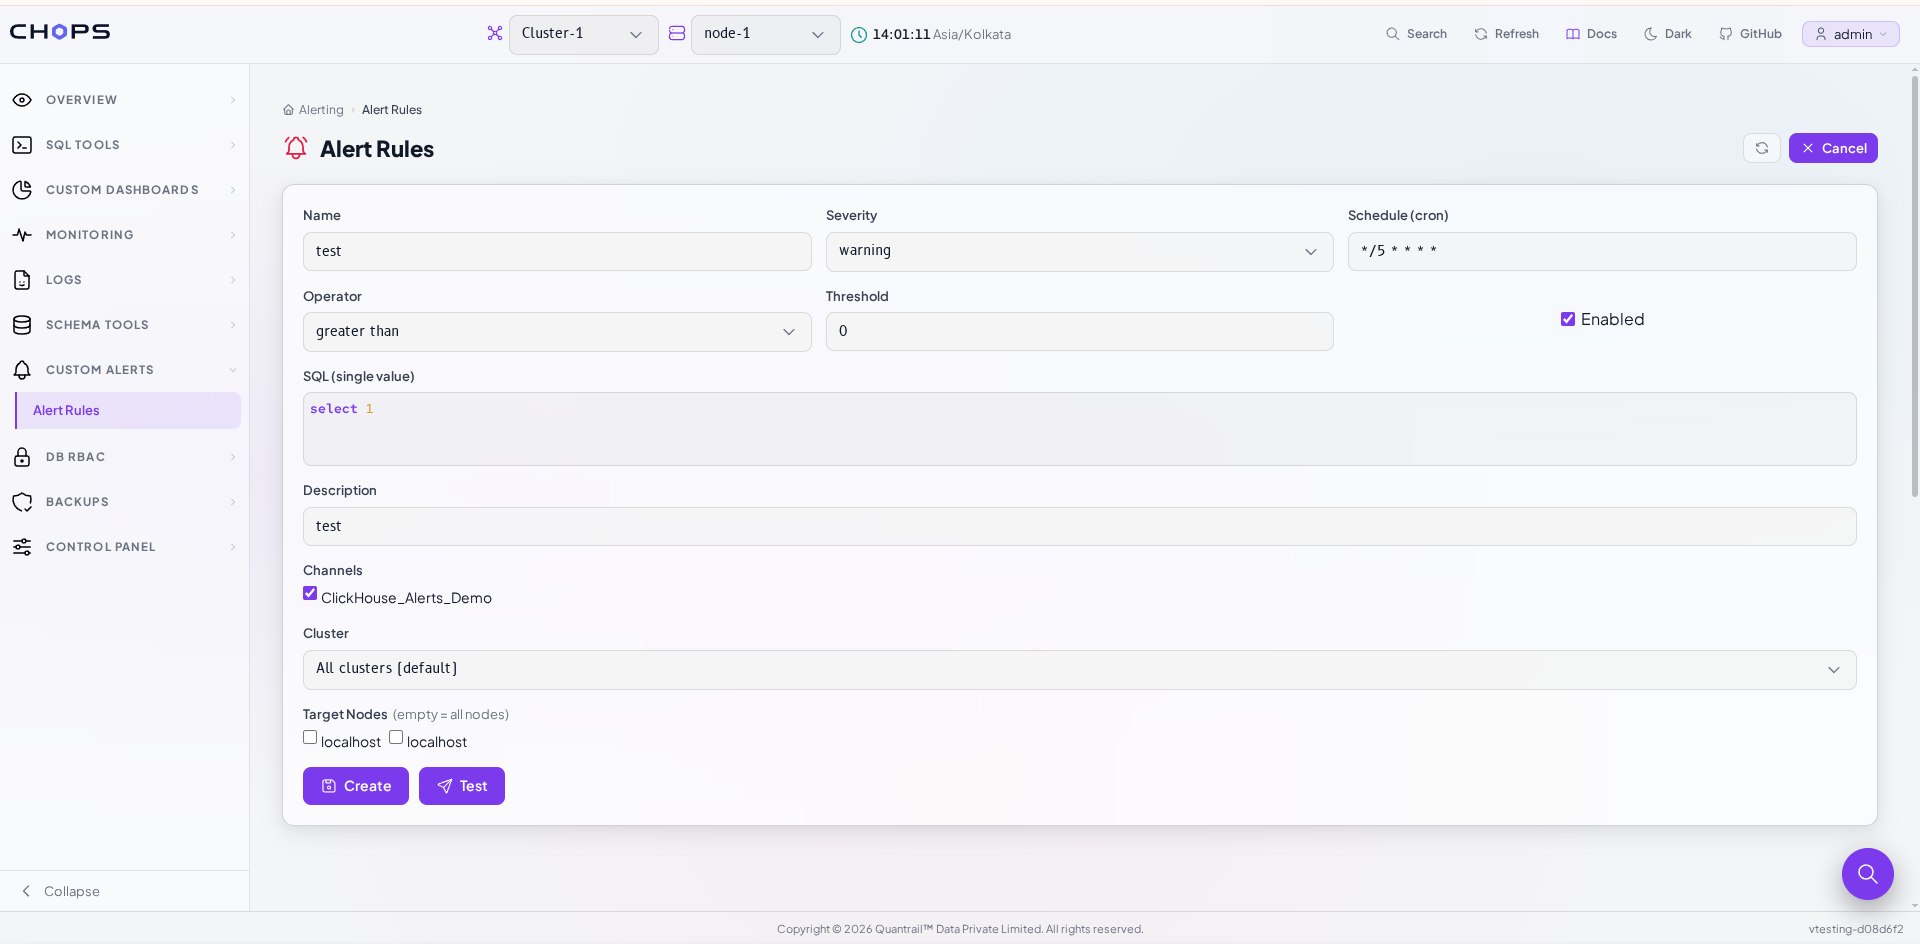 Figure: Alert rule configuration with SQL condition, threshold, schedule, and notification channel.
Before configuring, the Alert Rule also has its own Test button. It executes the configured SQL query and checks the result against the defined condition and threshold.
This lets you verify the alert logic before relying on the scheduled rule.
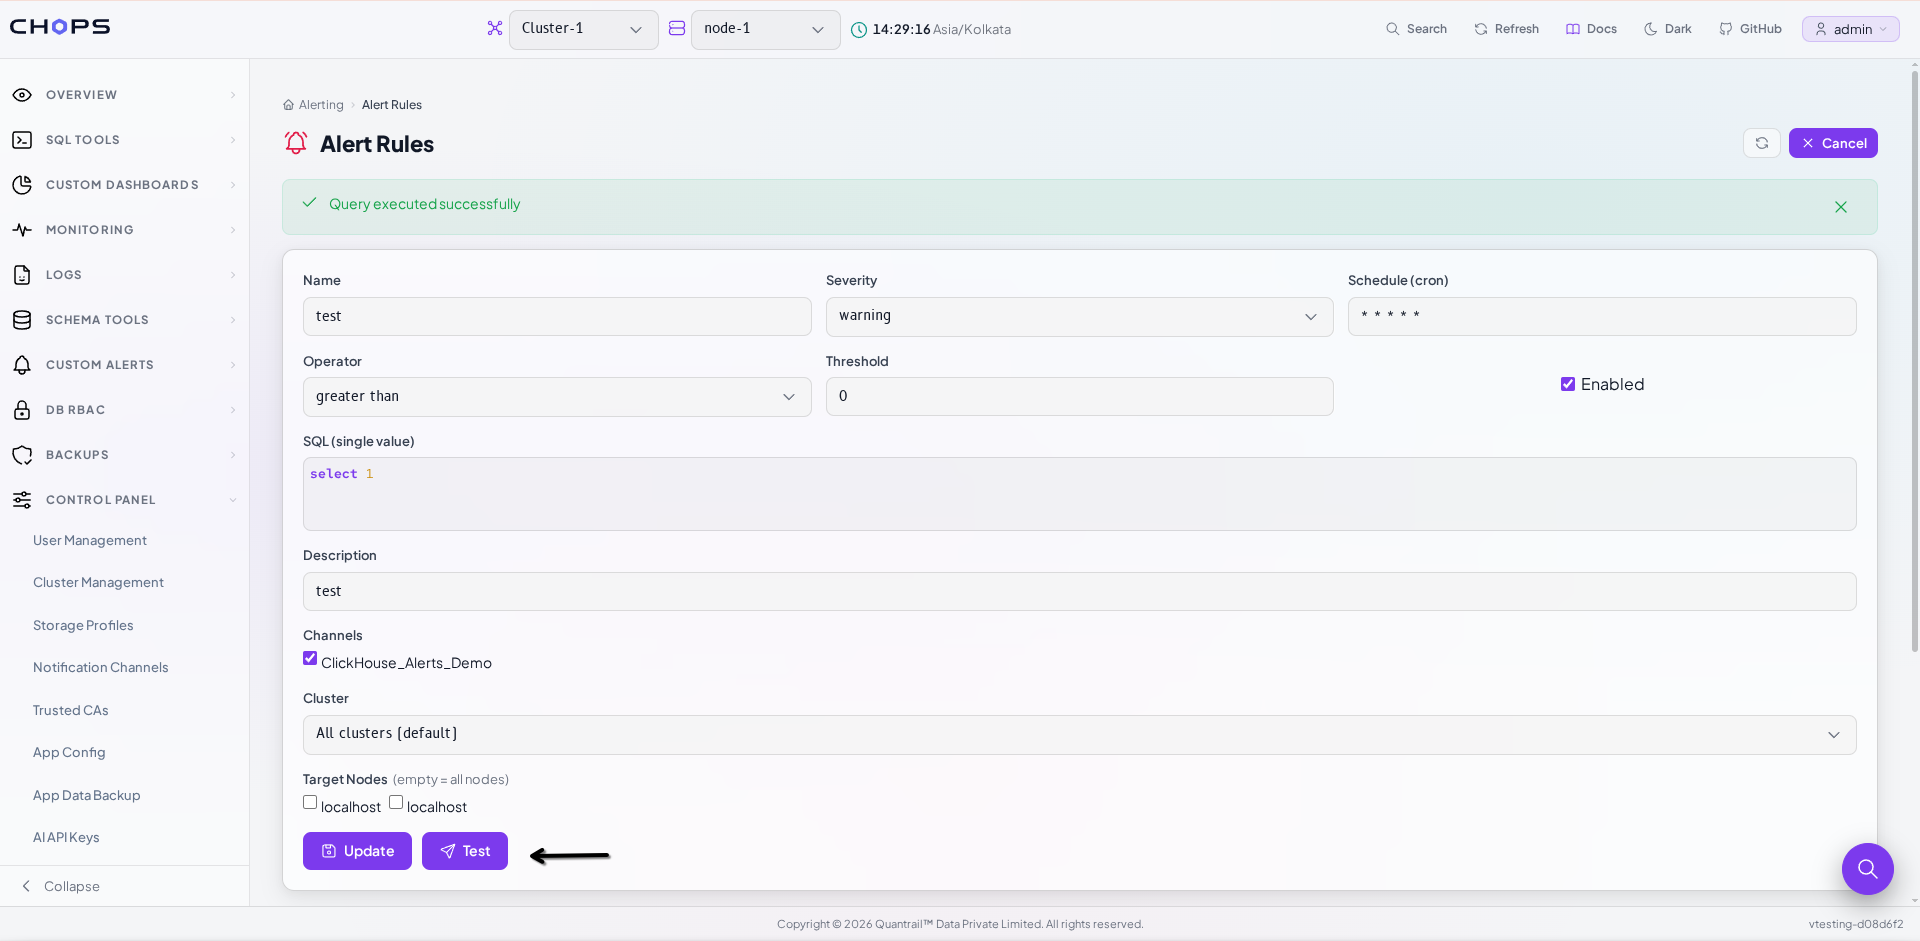 Figure: Alert rule with Succesful Test Notification .
Once created, the channel shows up as a card with its status, when it was last tested, and Edit, Enable, and Delete actions.
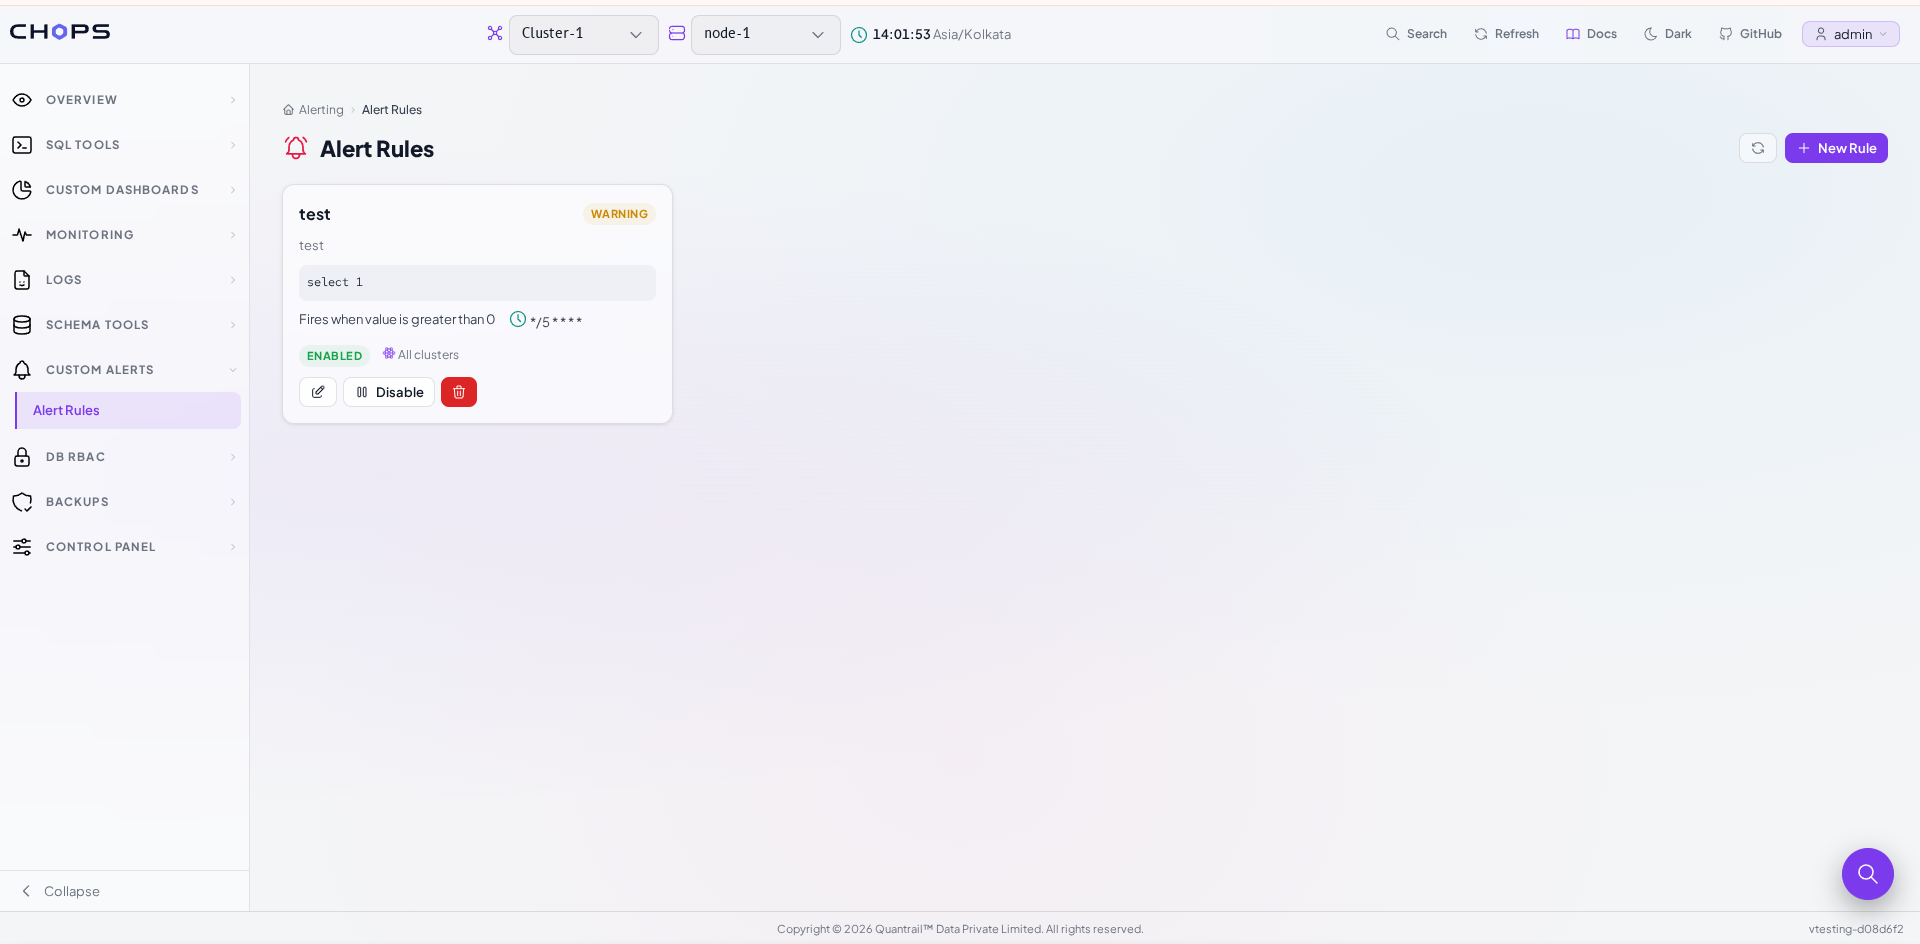 Figure: Configured Alert Rules.
From Query to Notification
Once the alert is created, the workflow becomes straightforward:
1. Run the SQL query CH-Ops executes the configured query according to the schedule.
2. Check the result The returned value is evaluated against the configured operator and threshold.
3. Determine whether the condition is met If the result satisfies the alert condition, the rule is triggered.
4. Send the notification The configured notification channel is used to deliver the alert. This turns a SQL query into a simple scheduled monitoring mechanism.
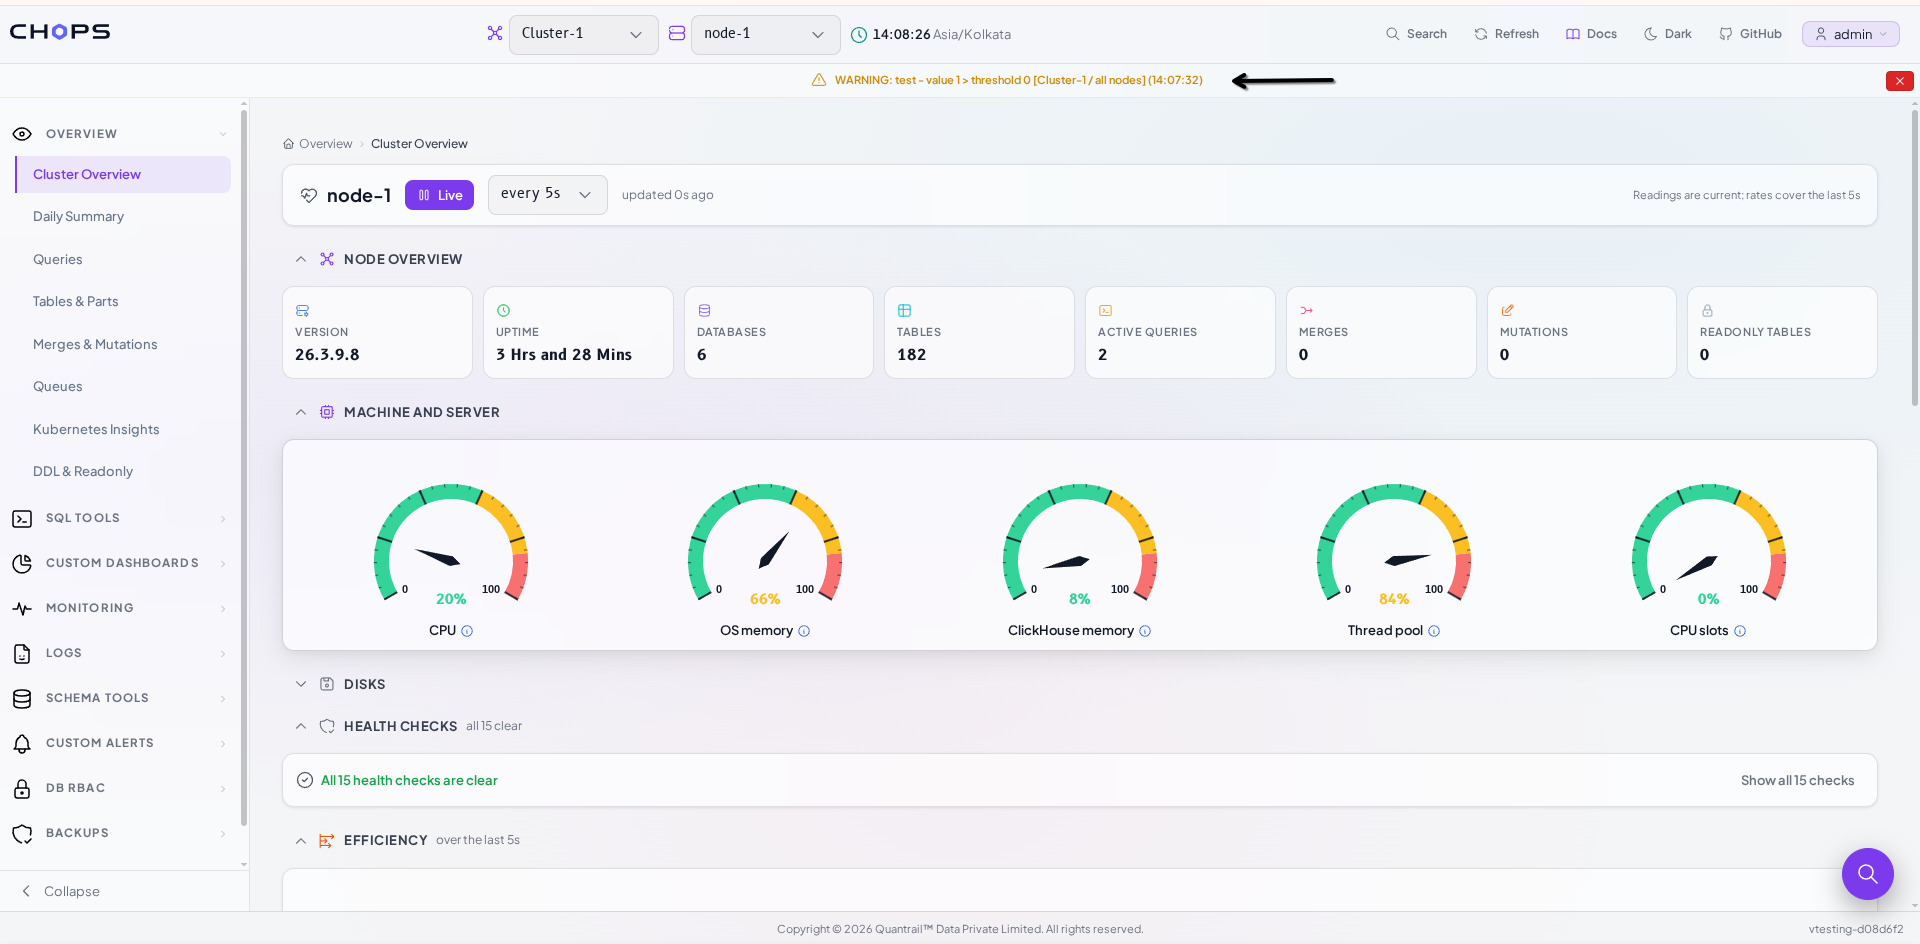
Figure: CH-Ops displaying a warning notification after the alert condition is triggered.
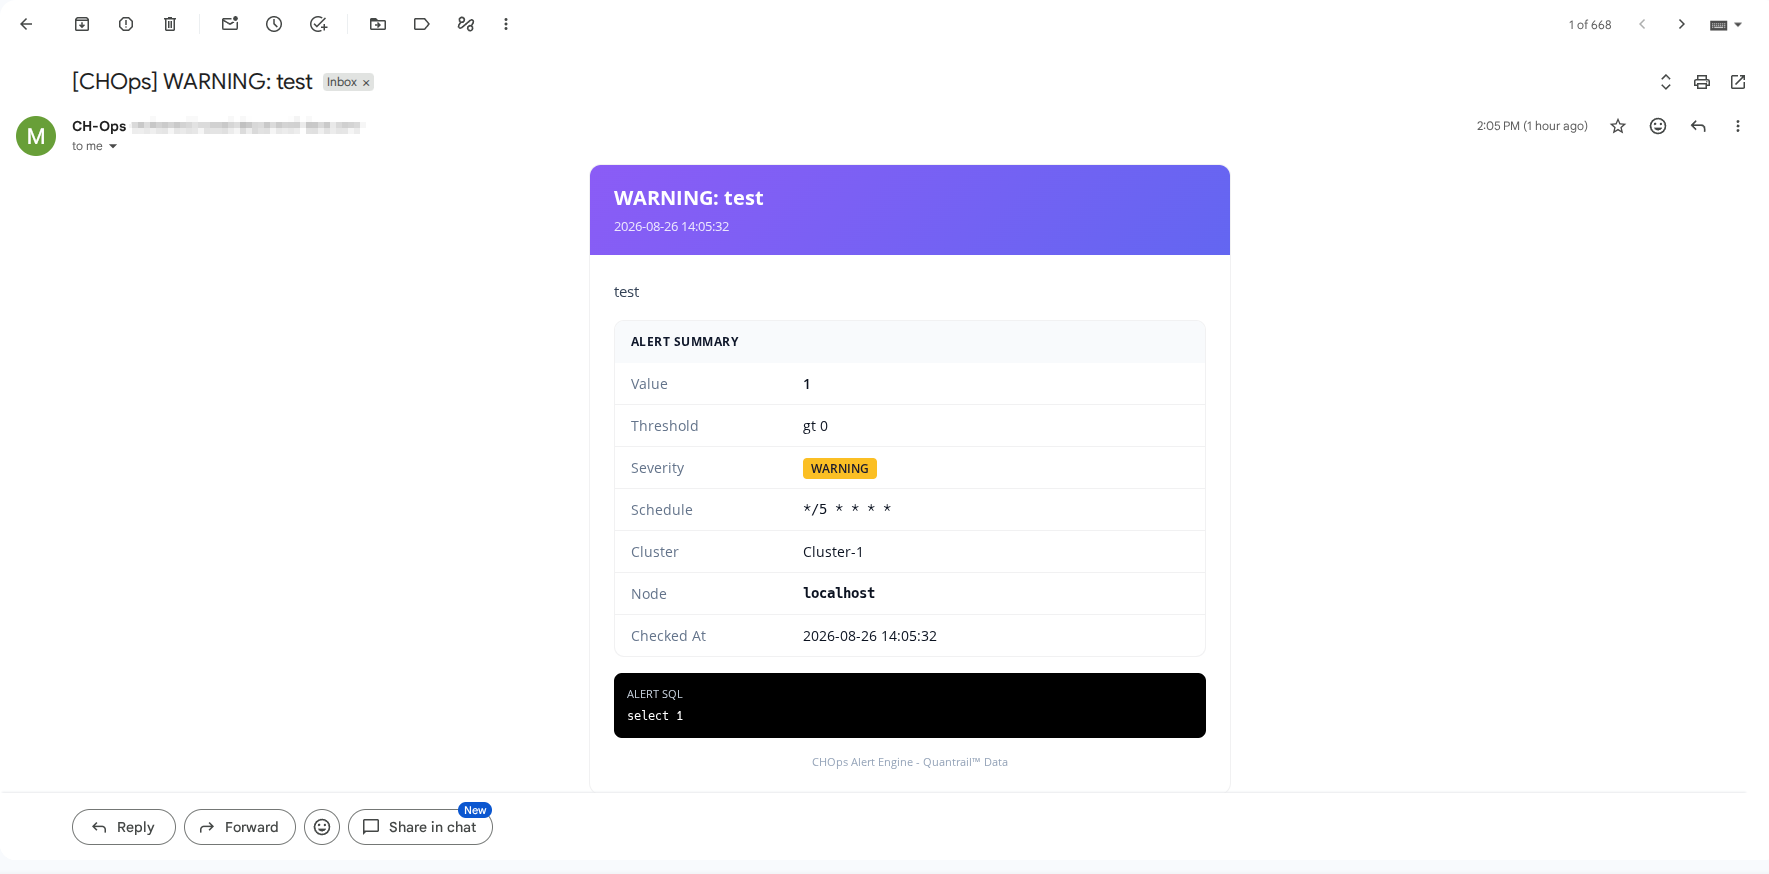 Figure: Email notification received after the alert rule condition is triggered.
A Simple End-to-End Flow
The complete workflow can be summarized as:
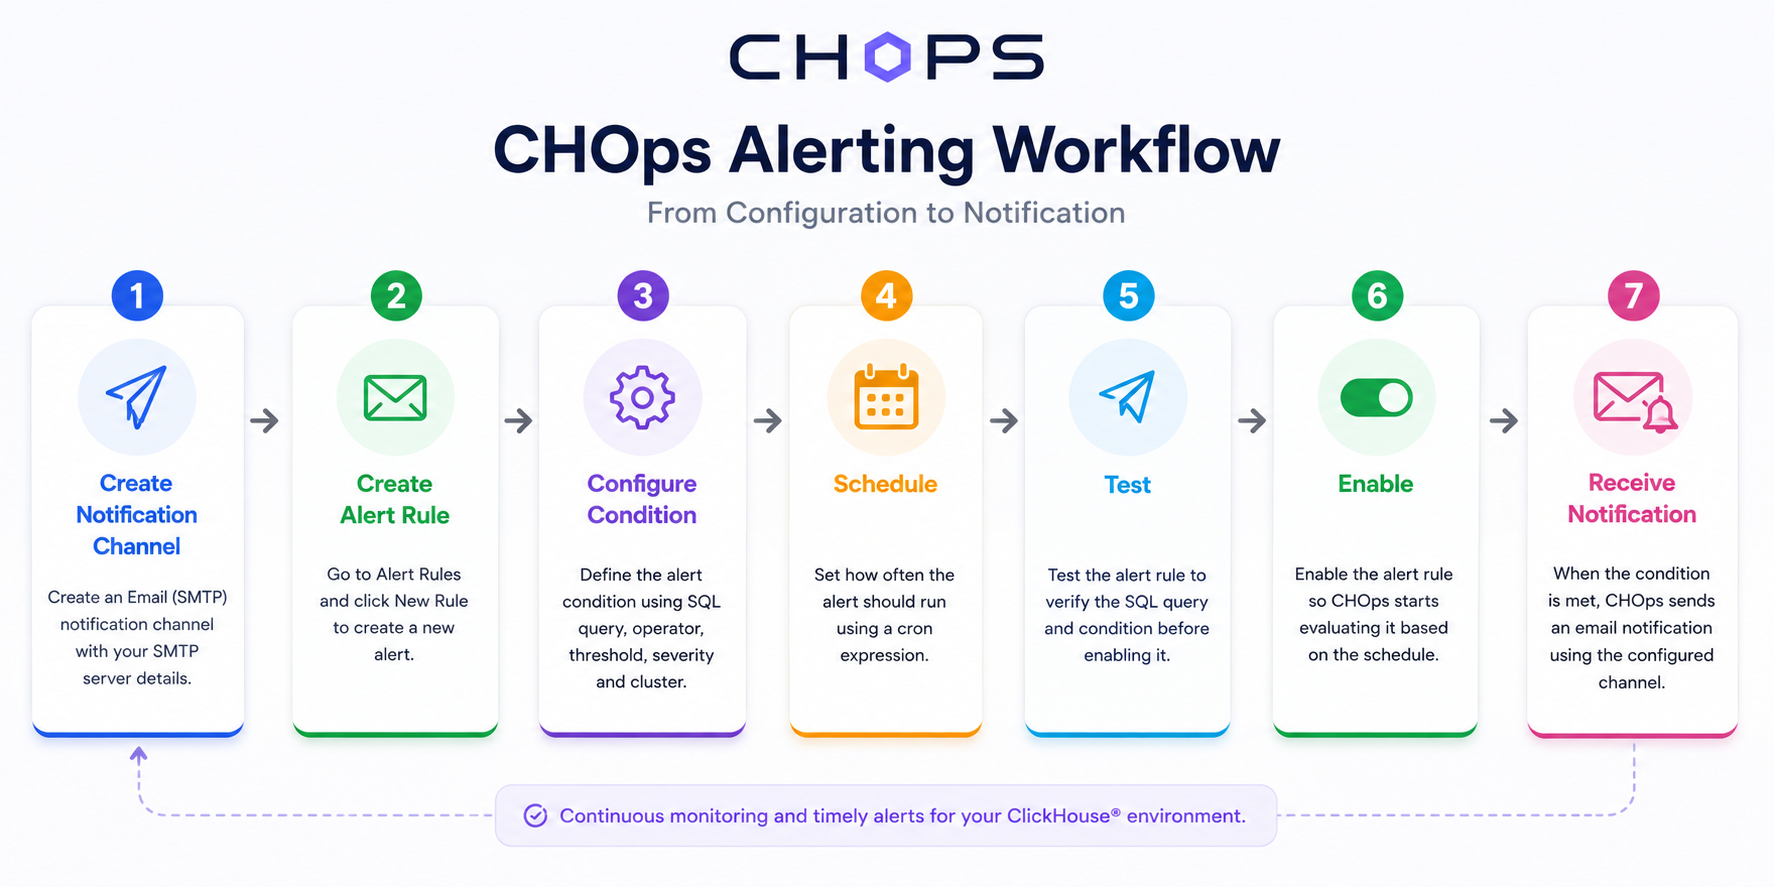 Figure: An Overall WorkFlow.
The important idea is that you don't need a separate script or external scheduler just to repeatedly check a SQL-based condition.
CH-Ops brings the query, condition, schedule, and notification configuration together in one interface.
Why This Is Worth Setting Up
The value of an alert is how early it catches a problem. A five-minute schedule can flag an issue long before someone notices it during a manual dashboard check. Keeping the alert rule and notification channel separate also means you can change how you receive alerts without rewriting the alert logic.
Email (SMTP) is available in the open source version and is enough for many setups. CH-Ops Pro adds additional notification channels (Slack, Microsoft Teams, Google Chat, and PagerDuty) for teams that need more immediate delivery. Explore CH-Ops pro features