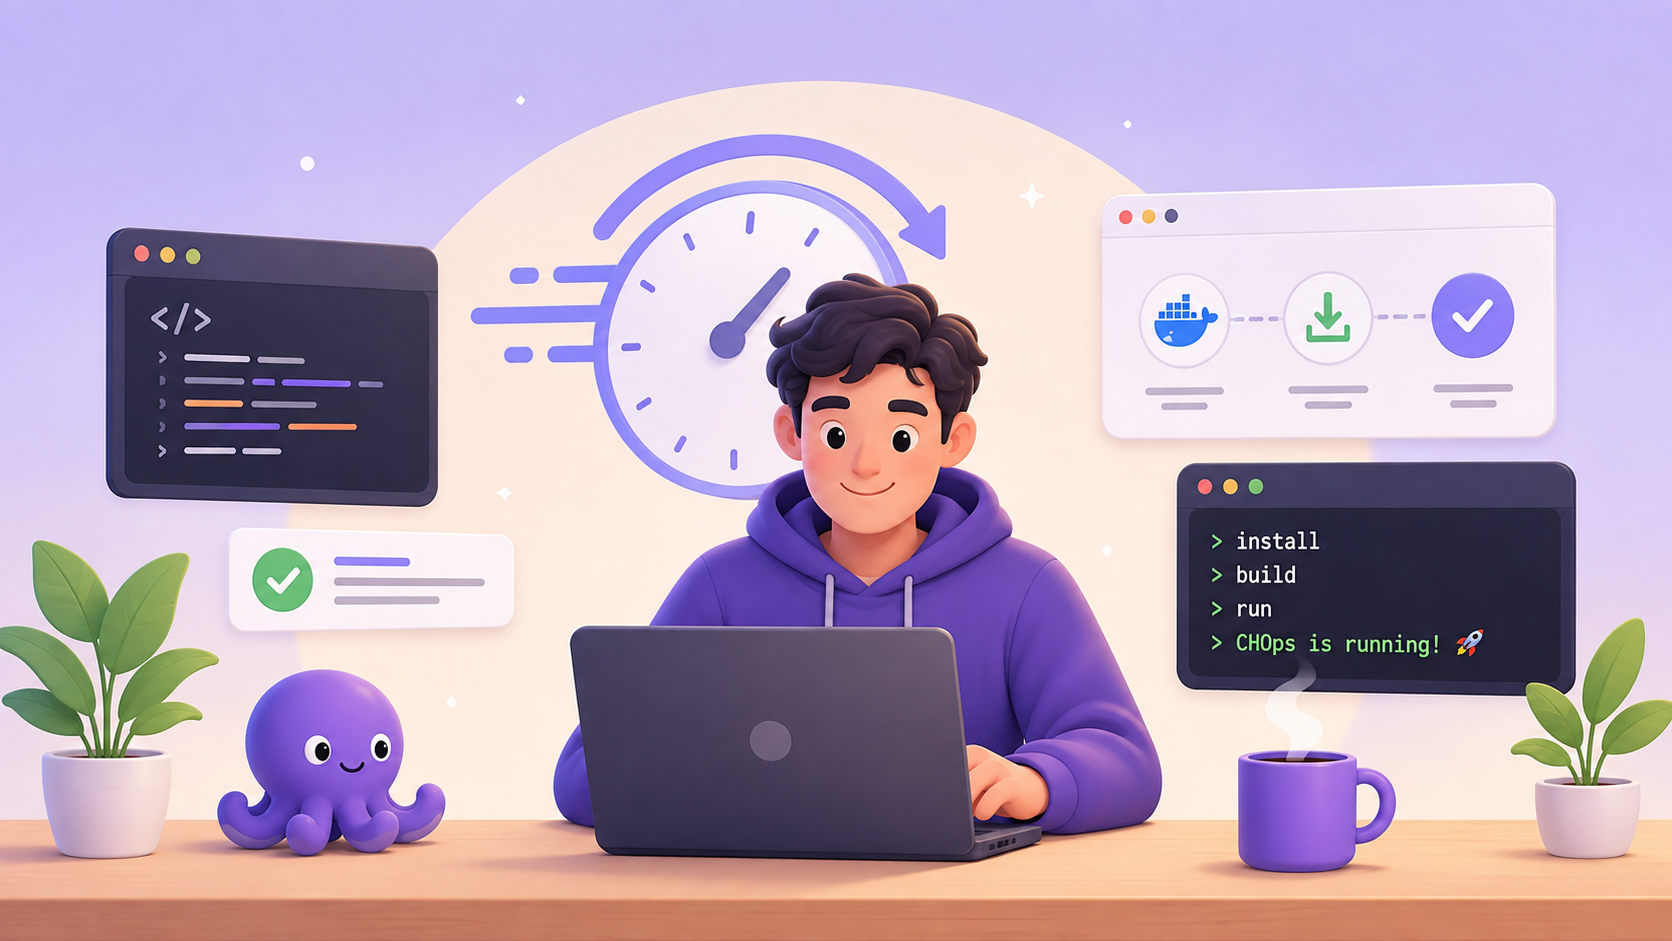
Getting started with a new database tool shouldn't take hours of setup.
That's why CH-Ops gives you three installation options depending on how you prefer to work:
- Docker: the fastest way to get started.
- Standalone Binary: ideal for production deployments.
- Build from Source: perfect if you want to contribute or customize the application.
In this guide, you'll have CH-Ops running in about 10 minutes, regardless of your preferred installation method.
What is CH-Ops?
CH-Ops is a browser-based operations platform for ClickHouse®. Instead of relying entirely on the command line or HTTP API, it provides a visual interface for managing your ClickHouse® deployment. From running SQL queries and monitoring cluster health to managing users, backups, alerts, and dashboards, CH-Ops brings operational tasks into a single web application. It stores its own configuration in a local SQLite database without modifying your ClickHouse® data unless you explicitly execute queries.
Choose Your Installation Method
| Method | Best For | Setup Time |
|---|---|---|
| Docker | Fastest setup, testing, local development | ~5 minutes |
| Standalone Binary | Production deployments | ~5 minutes |
| Build from Source | Development and customization | ~10 minutes |
Option 1: Install with Docker (Recommended)
If you already have Docker installed, this is the quickest way to run CH-Ops.
Step 1: Clone the repository
git clone https://github.com/Quantrail-Data/CH-Ops.git

cd CH-Ops
Step 2: Create your configuration
cp .env.example .envUpdate these required values:
SUPER_ADMIN_1=admin
SUPER_ADMIN_1_PASSWORD=your_secure_password_here
SUPER_ADMIN_1_EMAIL=you@example.com
ENCRYPTION_SECRET=paste_a_random_string_here
Generate the value for ENCRYPTION_SECRET (32 characters or more). Keep it safe, and never change it after the first start: a new value makes the stored ClickHouse® passwords unreadable.
openssl rand -hex 32Step 3: Start CH-Ops
Using Docker Compose:
docker compose up -d --buildThe result of the above docker command looks like this:
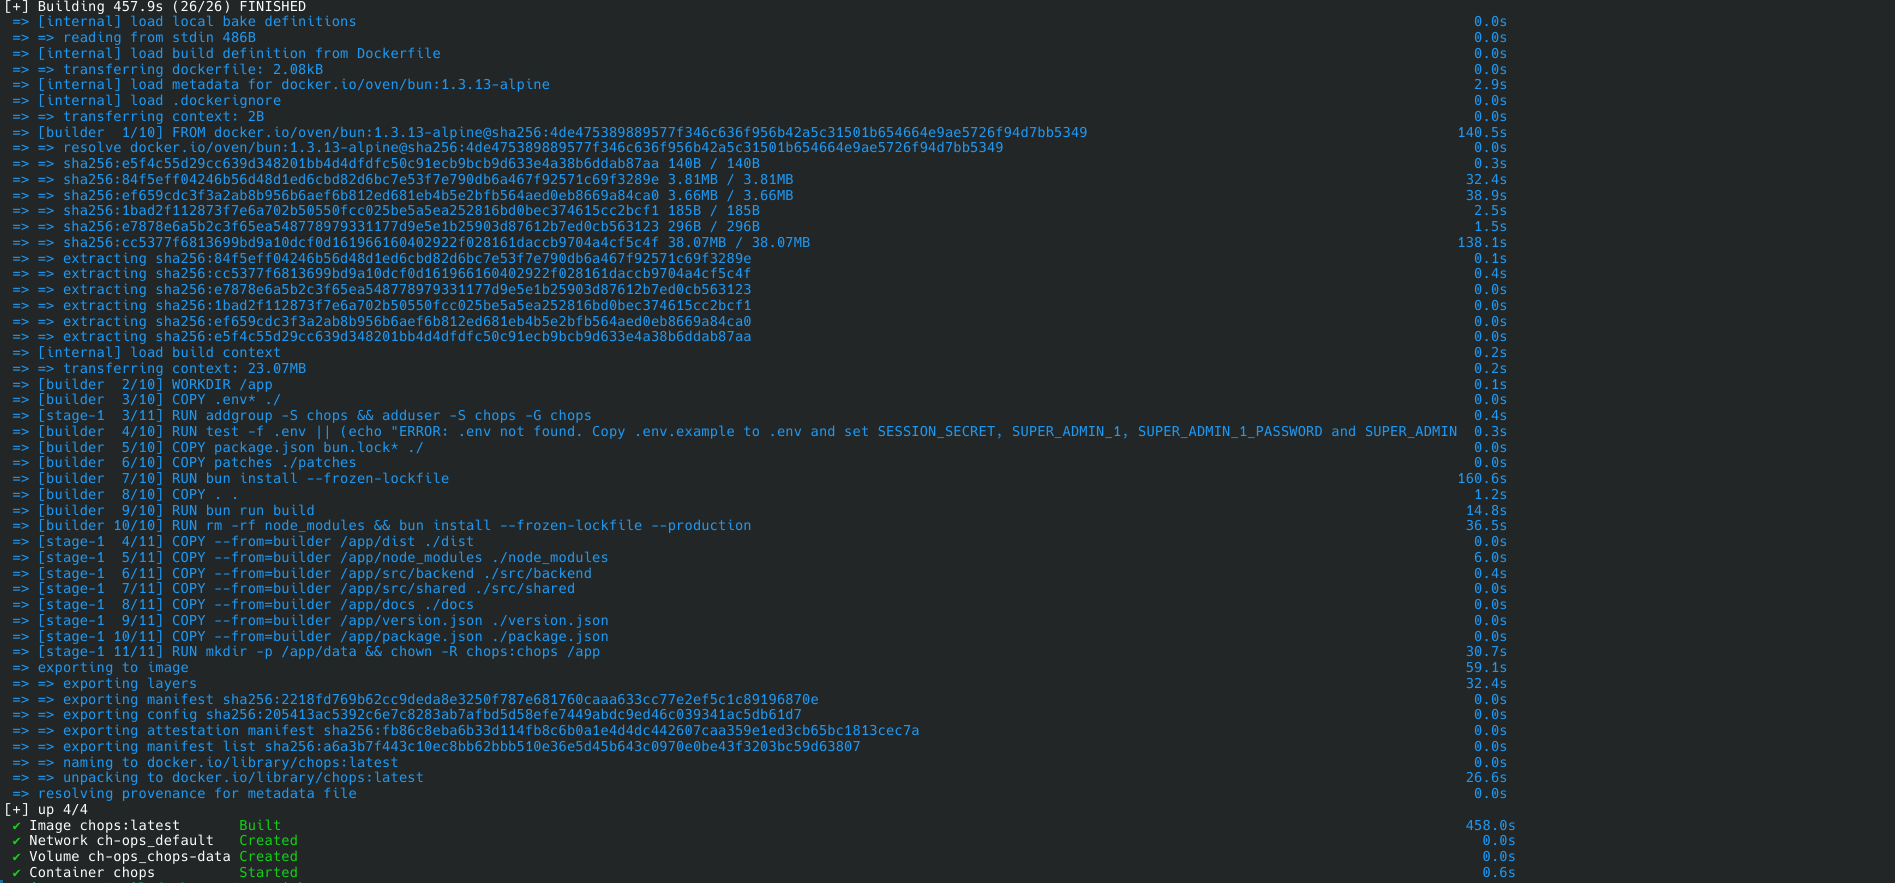
That's it.
Open:
http://localhost:3000
You're ready to log in.
Why Docker?
- No Bun installation
- Persistent SQLite storage
- Easy upgrades
- Perfect for testing and production
Remember that all four environment variables are required, or the container will exit during startup. Docker Compose should also receive the SUPER_ADMIN_1_EMAIL variable if it isn't already configured.
Option 2: Install Using the Standalone Binary
If you simply want to run CH-Ops without building it yourself, use the prebuilt binary. It needs no Bun and no build step.
Step 1: Download the binary
Download the file for your platform from the Releases page:
- Linux:
chops-linux-x64 - macOS:
chops-darwin-arm64 - Windows:
chops-windows-x64.exe
Then go to Step 2: Run the binary.
Optional: Build the binary yourself
Build your own binary only if you need a custom build. CHOps is built using Bun, so install it first:
curl -fsSL https://bun.com/install | bash -s "bun-v1.4.2"Verify the installation:
bun --versionClone the repository:
git clone https://github.com/Quantrail-Data/CH-Ops.git

cd CH-Ops
Install dependencies:
bun installCH-Ops compiles into a single executable with no runtime dependencies on the target machine. This is the recommended way to deploy to a server or distribute to teammates.
# Build for your current platform
bun run build:binary

# Cross-compile for a specific platform
bun run build:binary:linux      # produces chops-linux-x64
bun run build:binary:mac        # produces chops-darwin-arm64
bun run build:binary:windows    # produces chops-windows-x64.exe
During the build, vite build compiles the React frontend into static assets under dist/, then bun build --compile bundles the backend, all dependencies, and dist/ into one binary.
Step 2: Run the binary
Run it with the required environment variables:
chmod +x chops-linux-x64
SUPER_ADMIN_1=admin \
SUPER_ADMIN_1_PASSWORD=secret \
SUPER_ADMIN_1_EMAIL=you@example.com \
ENCRYPTION_SECRET=$(openssl rand -hex 32) \
./chops-linux-x64
Note: ENCRYPTION_SECRET must be 32 characters or more. For a real deployment, generate it once with openssl rand -hex 32, store it in your .env file, and never change it: a new value makes the stored ClickHouse® passwords unreadable.
Open the application:
http://localhost:3000
you can now login your application with your credentials.
CH-Ops automatically creates its internal SQLite database during startup.
Why choose the binary?
- Single executable
- No runtime dependencies
- Great for servers
- Easy deployment and distribution
If you need a custom build instead of the published binaries, you can generate your own from source.
Optional: Run CH-Ops as a Linux Service with systemd
If you're deploying CH-Ops on a Linux server, you probably don't want to start it manually every time the machine reboots. Instead, you can run CH-Ops as a systemd service.
systemd is the default service manager on most modern Linux distributions. It automatically starts applications during boot, restarts them if they crash, manages permissions, and provides centralized logging.
Step 1: Create a Dedicated Service User
For security, avoid running CH-Ops as the root user. Instead, create a dedicated system account that has only the permissions required to run the application.
sudo useradd --system --no-create-home --shell /usr/sbin/nologin chops
sudo chown -R chops:chops /opt/chops
The chops user cannot log in and exists solely to run the CH-Ops service.
Step 2: Create the systemd Service File
Create a new service file:
sudo nano /etc/systemd/system/chops.serviceSystemd file
[Unit]
Description=CHOps - ClickHouse® Administration Dashboard
Documentation=https://github.com/Quantrail-Data/CH-Ops
After=network.target

[Service]
Type=simple
User=chops
Group=chops
WorkingDirectory=/opt/chops
ExecStart=/opt/chops/chops
Restart=on-failure
RestartSec=5

# Environment file
EnvironmentFile=/opt/chops/.env

# Security hardening
NoNewPrivileges=true
ProtectSystem=strict
ProtectHome=true
ReadWritePaths=/opt/chops/data
PrivateTmp=true

# Logging
StandardOutput=journal
StandardError=journal
SyslogIdentifier=chops

[Install]
WantedBy=multi-user.target
Understanding the Service Configuration
Although the service file may look intimidating, each setting serves a specific purpose:
| Setting | Purpose |
|---|---|
After=network.target | Starts CHOps only after networking is available. |
User=chops | Runs the application as a dedicated non-root user. |
Restart=on-failure | Automatically restarts CHOps if it crashes. |
RestartSec=5 | Waits five seconds before restarting. |
EnvironmentFile | Loads your .env configuration automatically. |
NoNewPrivileges=true | Prevents the process from gaining additional privileges. |
ProtectSystem=strict | Makes the filesystem read-only except for explicitly allowed paths. |
ReadWritePaths=/opt/chops/data | Allows CHOps to write only to its data directory. |
PrivateTmp=true | Gives CHOps its own isolated temporary directory. |
These security settings help reduce the impact of accidental changes or potential vulnerabilities while keeping the application easy to manage.
Step 3: Enable and Start the Service
Reload systemd so it recognizes the new service:
sudo systemctl daemon-reloadEnable CH-Ops to start automatically during boot:
sudo systemctl enable chopsStart the service:
sudo systemctl start chopsVerify that everything is running correctly:
sudo systemctl status chopsIf everything is configured correctly, you should see:
Active: active (running)Troubleshooting Startup Issues
If the service doesn't start, the system journal usually provides enough information to identify the problem.
View live logs with:
sudo journalctl -u chops -fThis command continuously streams log messages as CH-Ops starts, making it much easier to diagnose configuration issues.
Common systemd Commands
Once CH-Ops is running as a service, you'll primarily use these commands:
sudo systemctl start chops
sudo systemctl stop chops
sudo systemctl restart chops
sudo systemctl status chops
To inspect logs:
sudo journalctl -u chops -n 50Or follow logs in real time:
sudo journalctl -u chops -fLogging in CH-Ops
CH-Ops writes structured JSON logs to standard output, which are automatically captured by systemd through journald. Each log entry includes information such as the timestamp, log level, request details, and execution context.
Example:
{
  "ts":"2026-05-18T10:30:00.000Z",
  "level":"info",
  "msg":"GET /api/alerts/rules 200 12ms",
  "ctx":{
    "method":"GET",
    "path":"/api/alerts/rules",
    "status":200,
    "duration":12,
    "user":"admin",
    "ip":"::1"
  }
}
You can also view logs in different formats:
# Human-readable logs
sudo journalctl -u chops -f

# JSON output
sudo journalctl -u chops -o json | jq '.MESSAGE | fromjson'

# Errors only
sudo journalctl -u chops -f | grep '"level":"error"'

# Logs from the last hour
sudo journalctl -u chops --since "1 hour ago"
If you need more detailed diagnostic information during development, set the following in your .env file:
LOG_LEVEL=debugSupported log levels are:
debuginfo(default)warnerror
CH-Ops automatically logs API requests, scheduler activity, server startup events, and application errors while avoiding sensitive information such as passwords, authentication tokens, and request bodies.
Option 3: Build CH-Ops from Source
Want to develop, customize, or contribute?
Building from source gives you complete control.
Step 1: Install Bun
CHOps is built using Bun.
curl -fsSL https://bun.com/install | bash -s "bun-v1.4.2"Verify the installation:
bun --versionStep 2: Clone the repository
git clone https://github.com/Quantrail-Data/CH-Ops.git

cd CH-Ops
Step 3: Install dependencies
bun installStep 4: Create your configuration
cp .env.example .envUpdate these required values:
SUPER_ADMIN_1
SUPER_ADMIN_1_PASSWORD
SUPER_ADMIN_1_EMAIL
ENCRYPTION_SECRET
Generate the value for ENCRYPTION_SECRET (32 characters or more):
openssl rand -hex 32Step 5: Run database migrations
bun run db:migrateStep 6: Start CH-Ops
Development mode:
bun run devProduction build:
bun run build
bun src/backend/server.js
In development mode, open http://localhost:5173. After a production build, open http://localhost:3000. Sign in using the administrator credentials you configured.
First Login
After installation:
Open CH-Ops in your browser.
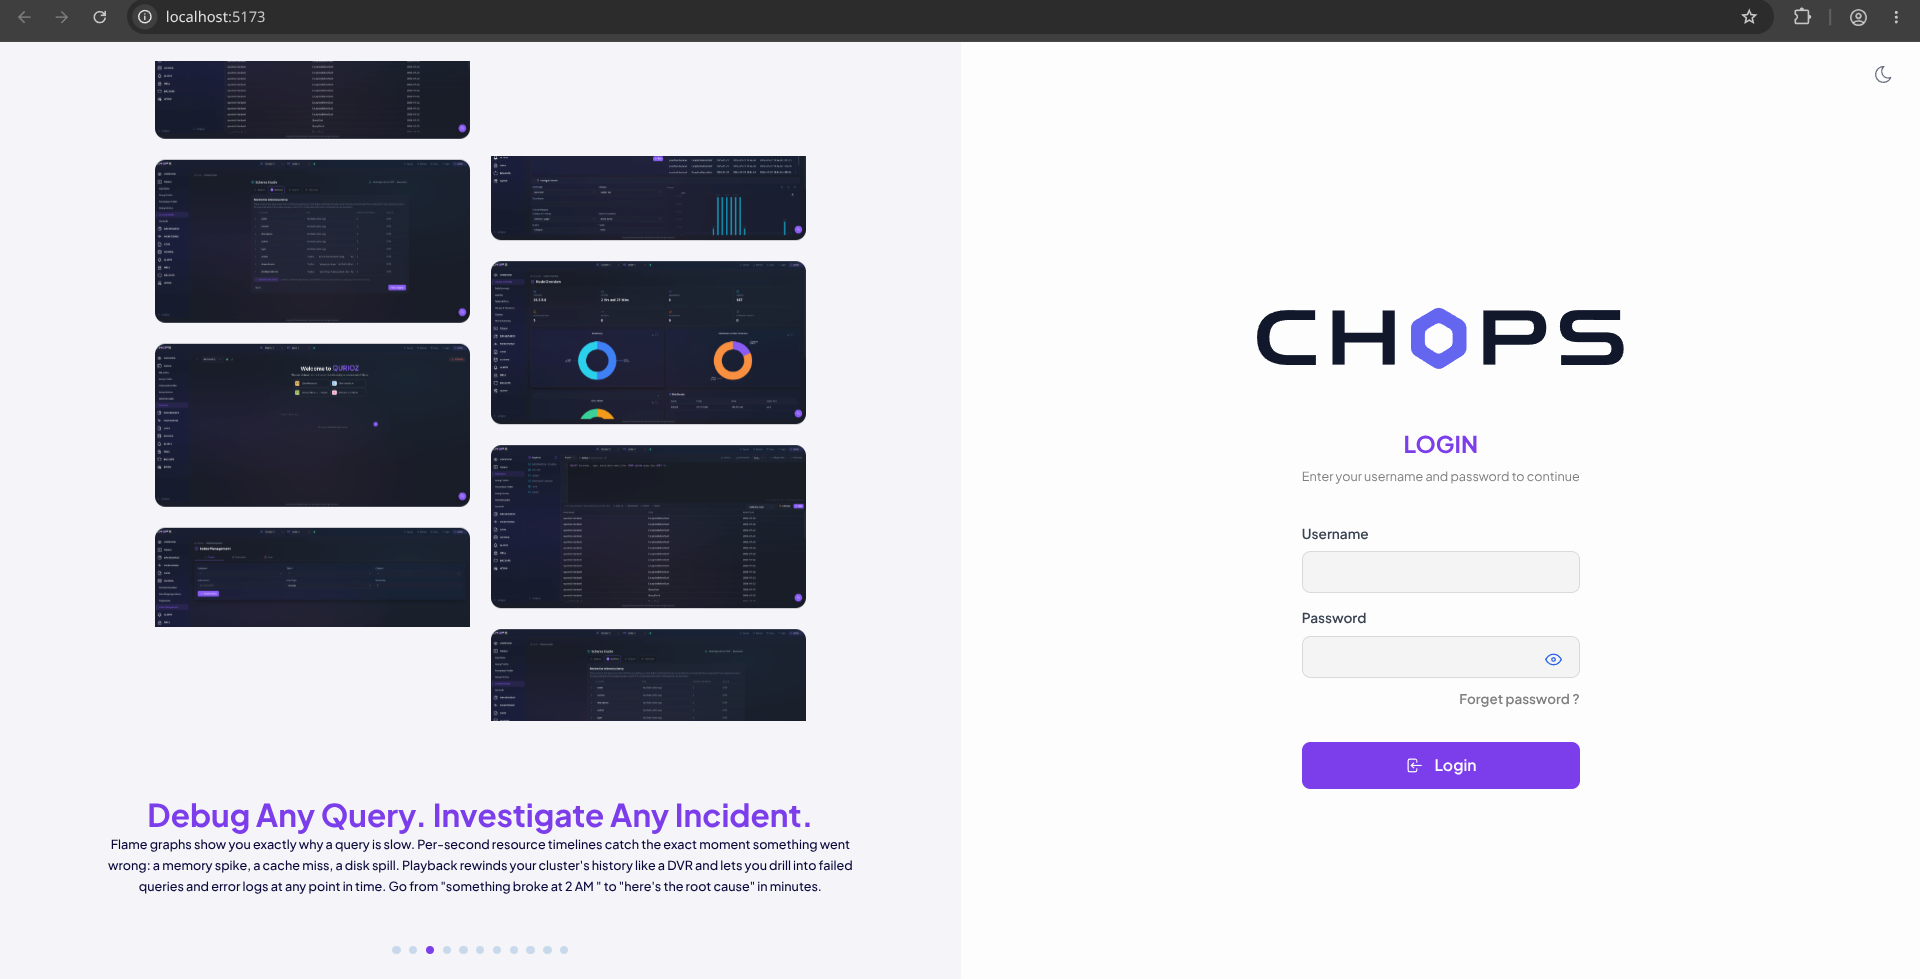
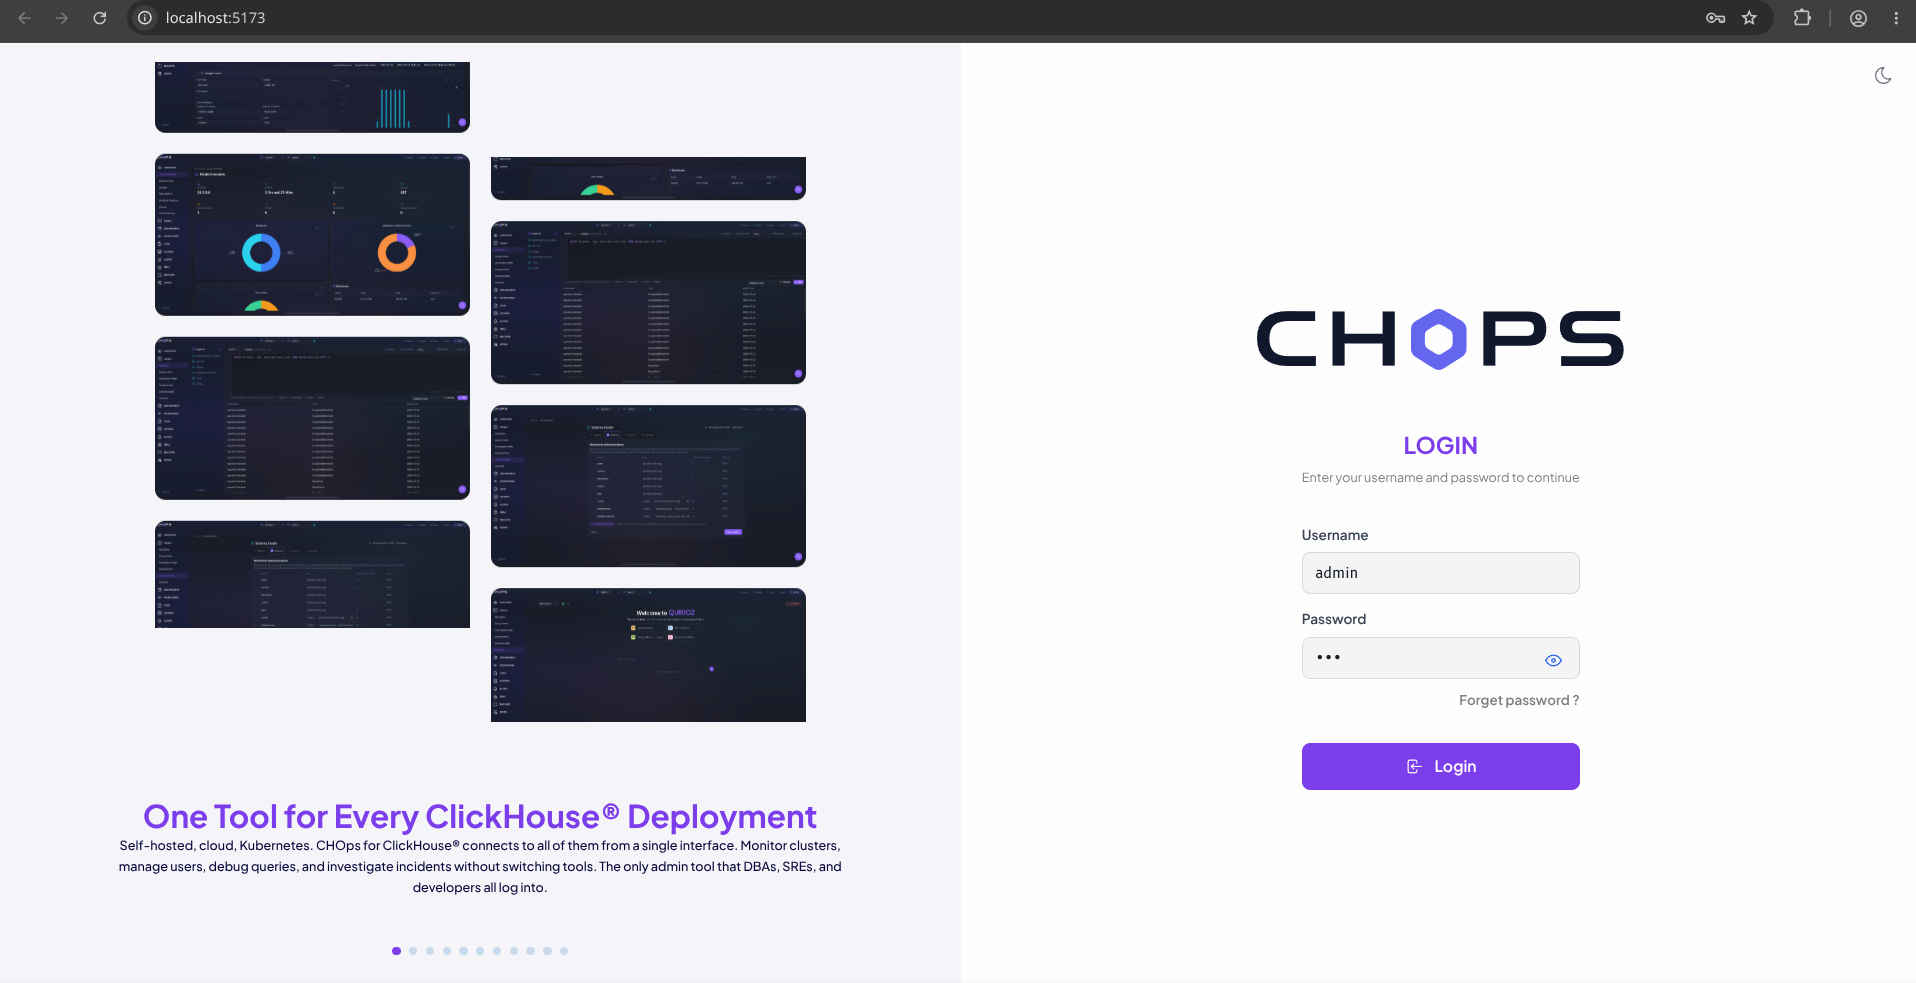
Sign in with your Super Admin credentials.
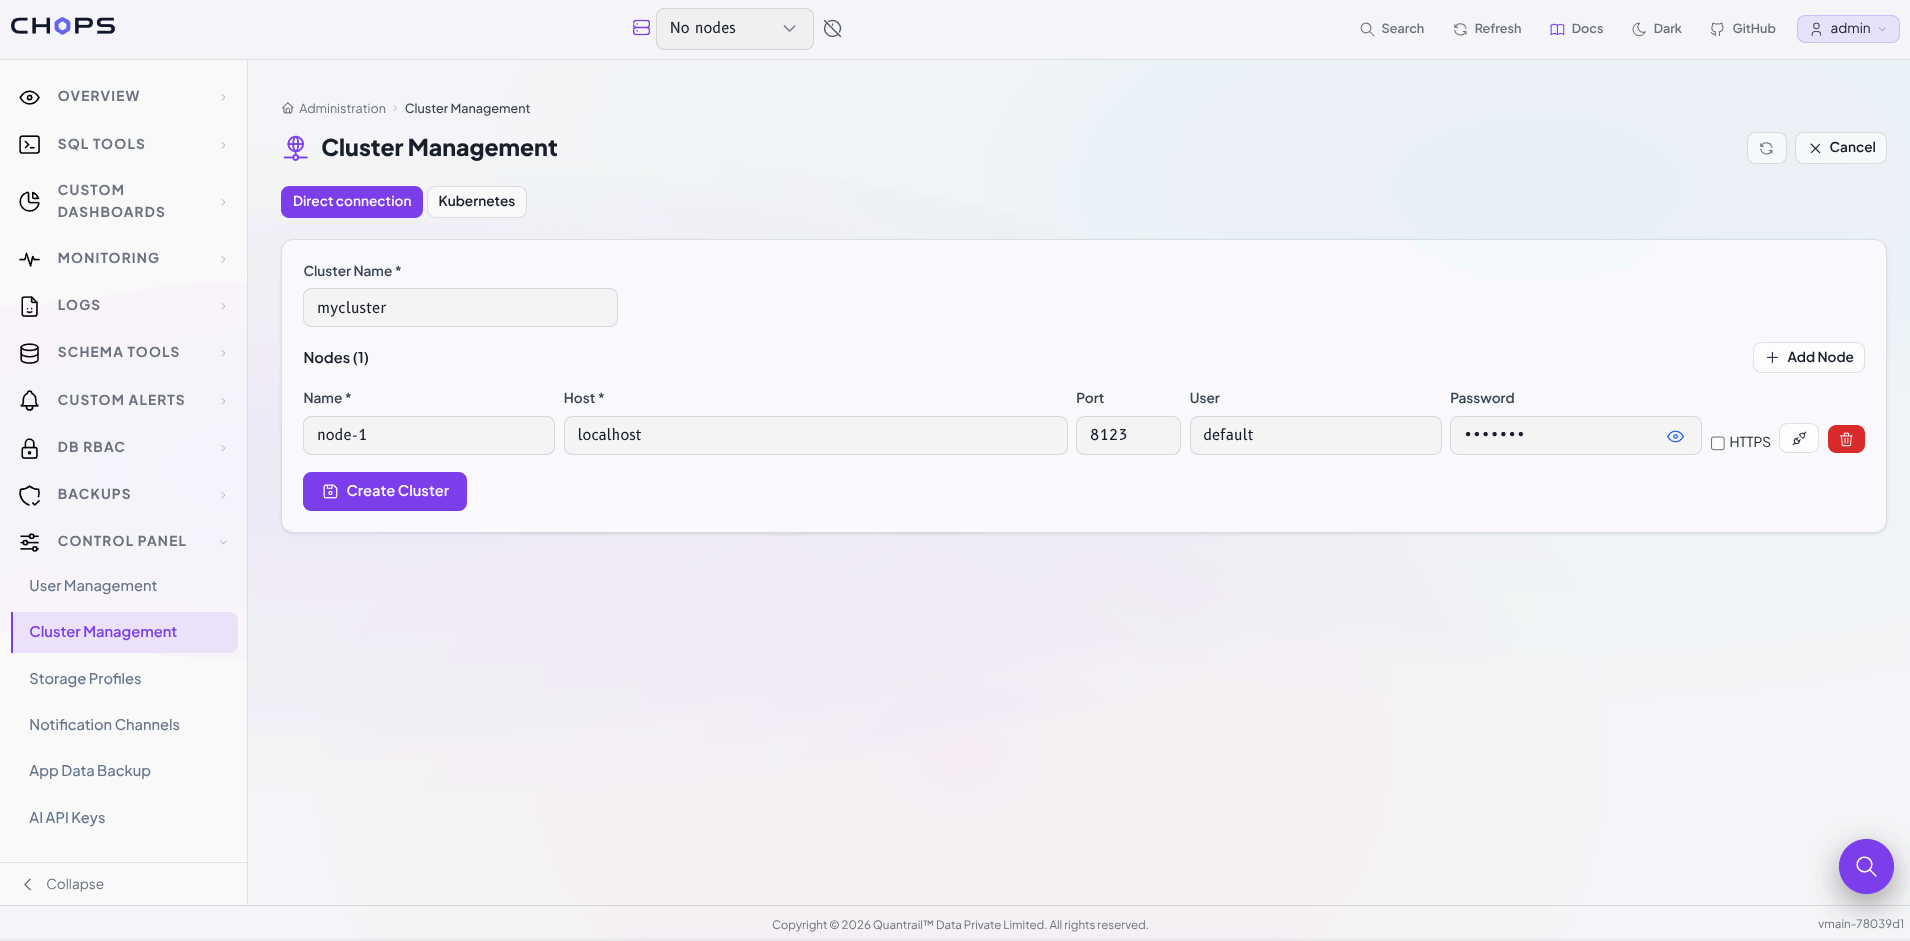
Add your ClickHouse® server from Administration → Cluster Management.
Test the connection.
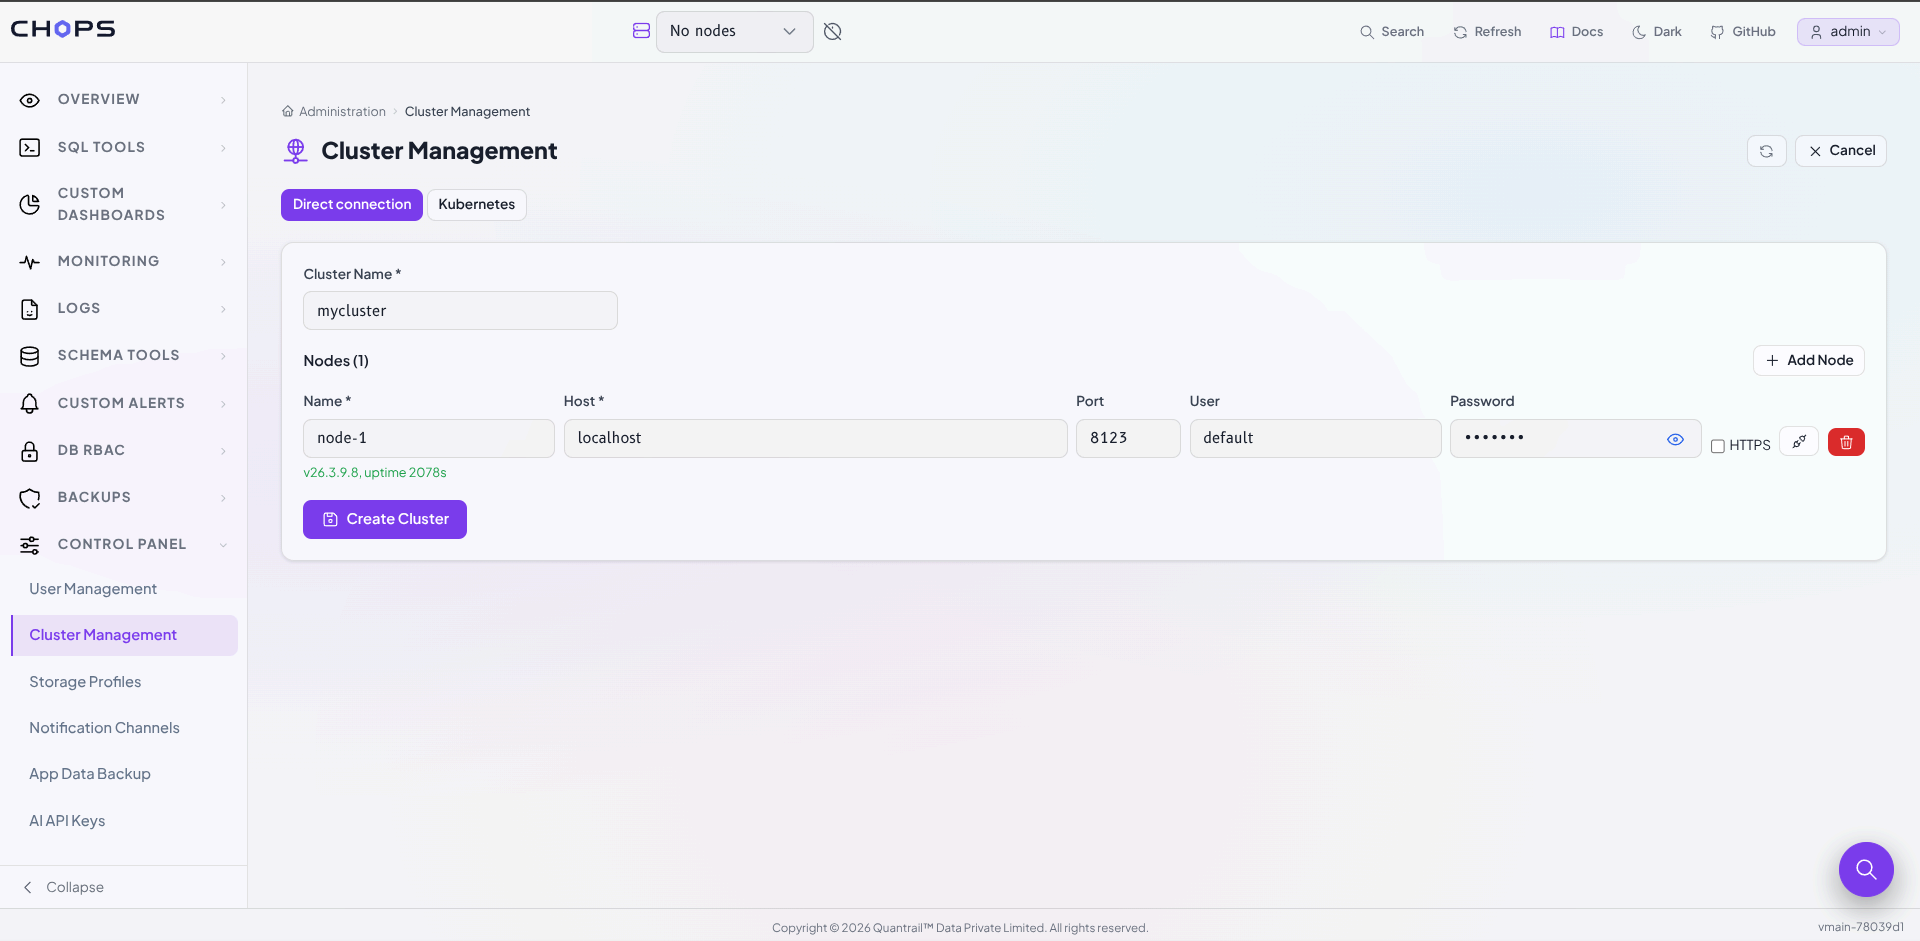
Save the configuration.
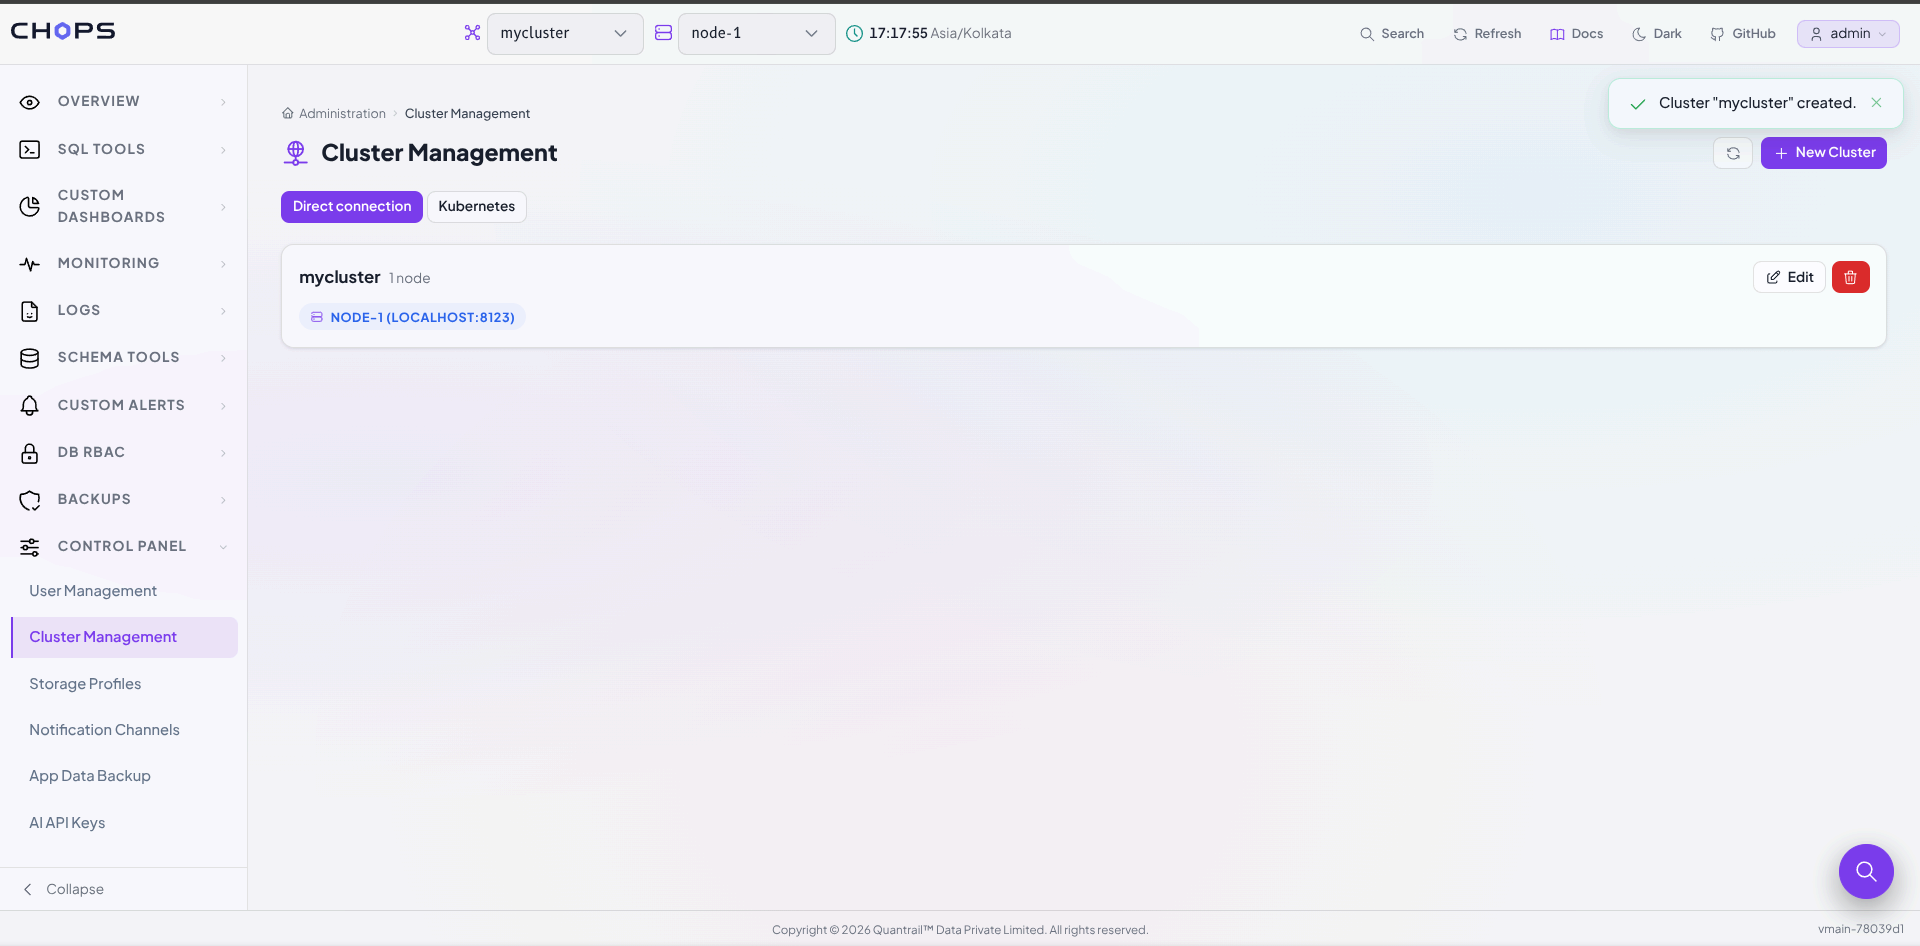
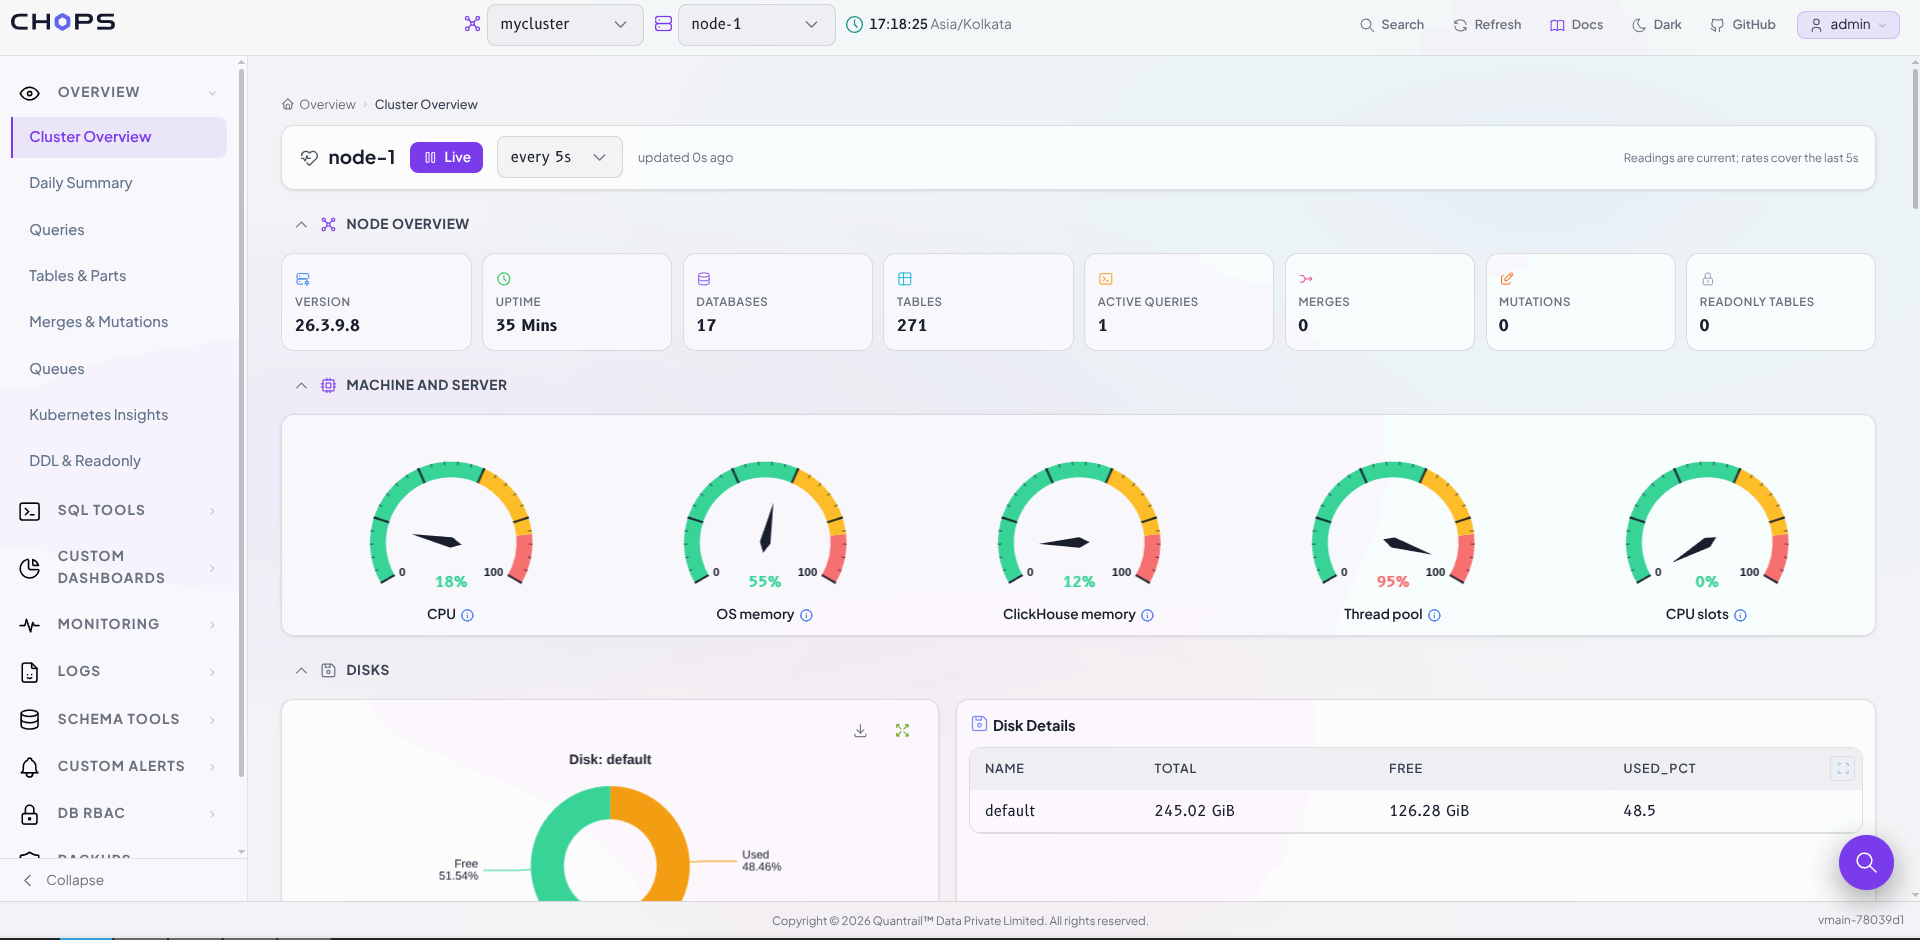
Once connected, you can begin exploring dashboards, monitoring queries, managing backups, configuring alerts, and using the SQL editor.
Which Installation Method Should You Choose?
If you're still deciding, here's a quick recommendation:
- Choose Docker if you want the fastest installation with minimal setup.
- Choose the standalone binary if you're deploying CHOps on a server or in production.
- Choose the source installation if you're developing new features or want full control over the build process.
Each option ultimately provides the same CHOps experience-the only difference is how you get there.
Conclusion
Installing CHOps doesn't require a complicated setup. Whether you prefer Docker, a standalone binary, or building from source, you can have the application running in just a few minutes.
Once installed, simply connect your ClickHouse® cluster, sign in with your administrator account, and start managing your database from a modern web interface.